Just as a compass guides you through uncharted waters, setting the correct time on your Android phone is essential for steering your daily life. You might find yourself in a situation where meetings or calls are missed simply due to time discrepancies. So, how do you make sure your device reflects the right U.S. time? The process is straightforward, but there are a few key steps you'll want to take into account to avoid any confusion. Let's explore what it takes to keep your time accurate and reliable.
Importance of Correct Time Settings
When it comes to your smartphone, having the correct time set is fundamental. The accuracy of your device's time can greatly impact various aspects of your daily life. In our fast-paced world, time sensitivity is imperative, especially for tasks that require precise scheduling. Whether you're coordinating meetings or planning travel, ensuring your phone displays the correct time allows for enhanced scheduling efficiency.
When you're communicating with others, having the right time fosters communication clarity. You don't want to miss an important call or arrive late to an appointment because of a simple time error. Accurate time settings also play an essential role in event timing. Imagine organizing a gathering and everyone shows up at different times due to discrepancies in their clocks. That could lead to confusion and frustration.
Furthermore, if you travel frequently, managing time zones accurately becomes important. Incorrect time settings can lead to missed flights and other travel-related issues, impacting not just your itinerary but also your overall experience.
Lastly, consider the productivity impact of having the correct time. When you can seamlessly manage tasks without worrying about time errors, you'll find your ability to focus and accomplish goals improves. Essentially, prioritizing time accuracy on your smartphone isn't just about keeping the clock right; it's about enhancing your overall effectiveness in both personal and professional domains.
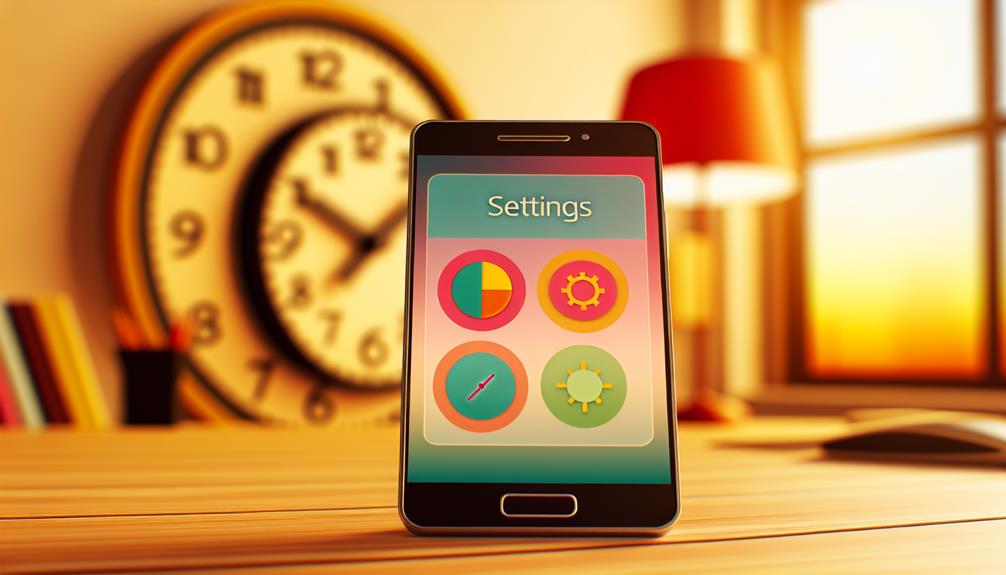
Accessing Date and Time Settings
To access the date and time settings on your Android phone, you'll want to navigate through a few straightforward steps. First, open your device and find the settings app, which often looks like a gear icon. Tap on it to open the settings menu.
Once you're in the settings, scroll down until you see "System" or "General Management," depending on your device model. Tap on that option. Next, look for "Date & time." This is where you can adjust various settings related to how your phone displays time and date information.
In the Date & time menu, you'll see options to set the date and time manually or automatically. If you prefer to set it manually, make sure to turn off the automatic option. You'll then be able to select your desired time zone, as well as the date and time format. You can choose between a 12-hour or 24-hour time format, depending on your preference.
Additionally, you'll have the option to adjust the date format, which might be displayed in various styles such as MM/DD/YYYY or DD/MM/YYYY. Choose the format that you find most convenient.
After you've made all your adjustments, simply exit the settings menu, and your changes will be saved automatically. This guarantees that your Android phone reflects the correct USA time and date format, making it easier for you to stay on schedule.
Choosing Automatic Time Zone
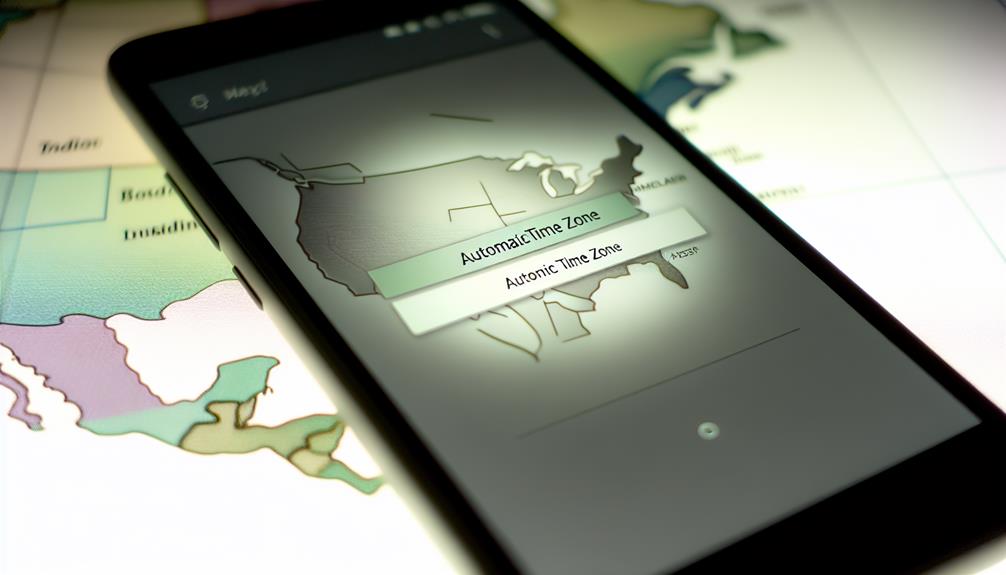
One of the easiest ways to guarantee your Android phone displays the correct USA time is by choosing the automatic time zone option. This feature utilizes your phone's location services to determine your current time zone based on where you are. When you enable this setting, your device automatically updates the time zone when you travel across different regions within the USA, ensuring you're always on time for appointments and events.
To set this up, go to the "Date & Time" section in your phone's settings. Look for an option labeled "Automatic time zone" or "Use location to set time zone." By turning this option on, your phone will access location services to detect your current location and adjust the time zone accordingly. This way, you won't have to worry about manually switching time zones every time you move or travel.
Moreover, using the automatic time zone feature helps you avoid the hassle of incorrect time displays. It's especially useful when you're in areas with multiple time zones, as your phone will seamlessly adapt to the local time. Just make sure that location services are enabled on your device for this feature to work effectively.
Manually Setting Time Zone
To manually set your time zone on an Android phone, you'll first need to access the Date & Time settings. From there, you can select your desired time zone and make any necessary adjustments for Daylight Saving time. This guarantees your device displays the correct local time, tailored to your location.
Access Date & Time
How can you easily access the Date & Time settings on your Android phone? First, open your device and open the Settings app. You can usually find the Settings icon in your app drawer or on your home screen. Once you're in Settings, scroll down and look for "System" or "General Management," depending on your device. Tap on it, and then find the "Date & Time" option.
In the Date & Time settings, you'll see options for adjusting time formats and time zone settings. If you want to set the time manually, make sure the "Automatic date & time" option is turned off. This allows you to input the correct time and select your preferred time format, whether it's a 12-hour or 24-hour format.
Select Time Zone
When you're ready to set the time zone manually on your Android phone, look for the "Time Zone" option in the Date & Time settings. Once you find it, tap on that option to see a list of available time zones. Here, you can select the time zone that corresponds to your location in the USA.
Keep in mind the time zone differences across the country. The United States has multiple time zones, including Eastern, Central, Mountain, and Pacific. Depending on where you are, you'll need to choose the appropriate one.
Geographical considerations also play a role in your selection. For instance, if you're in a state that spans multiple time zones, such as Indiana or Florida, you'll want to verify you're set to the correct one based on your exact location.
After selecting your preferred time zone, simply exit the settings. Your phone will automatically update to reflect the new time zone, guaranteeing that you're always in sync with your local time. This way, you can avoid confusion and stay on schedule.
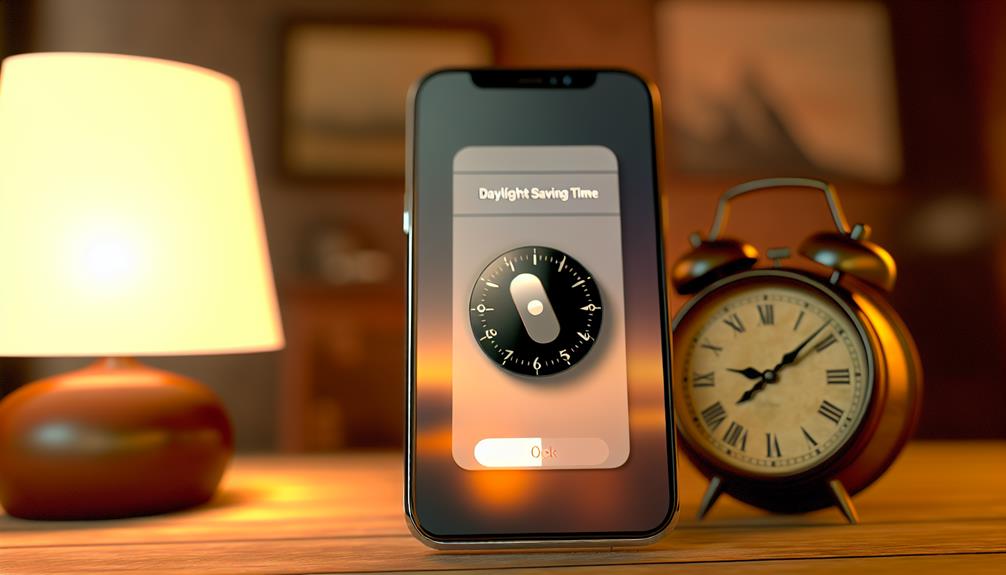
Adjust for Daylight Saving
Adjusting for Daylight Saving time is essential if you want your Android phone to reflect the correct local time. This adjustment not only helps maintain your schedule but also allows you to enjoy the daylight saving benefits, such as more daylight hours for activities. Understanding its historical significance can also enhance your appreciation for the change.
Here's how to manually adjust for Daylight Saving time on your Android phone:
- Open Settings: Go to your phone's settings by tapping the gear icon on your home screen or app drawer.
- Select Date & Time: Scroll down and find the "Date & Time" option.
- Toggle Daylight Saving: If your time zone observes Daylight Saving, make sure the option is enabled. You may need to adjust the time manually if your device doesn't automatically update.
Adjusting for Daylight Saving Time
When adjusting your Android phone for USA time, it's important to understand how Daylight Saving Time affects your settings. You can choose to have your phone automatically adjust for it, or you may need to make manual changes depending on your preference. Let's explore both options to guarantee your time is always accurate.
Understanding Daylight Saving Time
Understanding Daylight Saving Time can sometimes be a bit confusing, especially with the clock changes that occur twice a year. It's important to know why these changes happen and how they can benefit you. Originally introduced during World War I to conserve energy, daylight saving has evolved over the years, resulting in various historical changes.
Here are some key daylight saving benefits you might find useful:
- Extended Daylight: With longer daylight hours in the evening, you can enjoy more outdoor activities after work or school.
- Energy Savings: The idea is that by shifting the clock, people will use less artificial lighting, which can lead to lower energy bills.
- Improved Health: More daylight encourages physical activity, helping to boost your overall well-being.
While not everyone agrees on its effectiveness, understanding the rationale behind these changes can help you better adjust your schedule. Be sure to check if your state observes daylight saving, as not all regions participate, which could affect your time settings on your Android phone.
Automatic Adjustment Settings
Enabling automatic adjustment settings on your Android phone can simplify how you handle daylight saving time changes. By allowing your device to manage these adjustments automatically, you won't have to worry about manually updating the time twice a year. This feature guarantees that your phone receives automatic updates for time synchronization, keeping your clock accurate and in line with local regulations.
To activate these settings, go to your phone's "Settings" app. Look for the "Date & Time" option, which is usually found under the "System" or "General Management" section. Once there, enable the toggles for "Automatic date & time" and "Automatic time zone." This allows your device to sync with network-provided information, assuring you're always up to date.
Additionally, you can check if your phone has the option to adjust for daylight saving time automatically. If it's not enabled, turn it on. With these settings in place, you can enjoy peace of mind knowing that your phone will adjust the time seamlessly, so you can focus on what matters most without the hassle of time changes.
Manual Time Changes
Sometimes, you might prefer to manually adjust the time on your Android phone, especially if automatic settings aren't working as expected. This is particularly useful when accounting for Daylight Saving Time or if you're in a different time zone. Here's how to go about it:
- Open Settings: Start by going to your phone's Settings app.
- Select Date & Time: Scroll down and tap on "Date & Time."
- Disable Automatic Time: Turn off "Automatic date & time" to enable manual adjustment.
Once you've disabled the automatic settings, you can now make your manual adjustment. Just set the correct time and verify that your time zone is accurate. If Daylight Saving Time is in effect, don't forget to add or subtract the necessary hour!
Syncing Time With Network
Syncing your Android phone's time with the network is a straightforward process that guarantees your device reflects the correct time based on your location. This method uses network time protocols (NTP) to maintain accuracy. By enabling this feature, you're allowing your phone to communicate with a time server over the internet, helping maintain precise timekeeping.
To sync your time automatically, start by heading to your phone's Settings. Look for the "Date & time" option, which might be under the "System" settings. Here, you'll find the option called "Automatic date & time." Make sure this is toggled on. When this setting is enabled, your phone will automatically receive the correct time from your network provider, ensuring it's aligned with standard time zones through effective time synchronization methods.
Troubleshooting Time Issues

If you find that your Android phone displays the wrong time, it can be frustrating, especially when you're relying on it for appointments and reminders. Fortunately, troubleshooting time issues is usually straightforward. Here are some common time errors and effective time synchronization methods you can try to fix the problem.
- Check Time Zone Settings: Make certain your time zone is set correctly. Go to Settings > Date & Time, and confirm that the time zone aligns with your current location. Sometimes, incorrect time zone settings can lead to significant discrepancies.
- Enable Automatic Time Sync: Verify that automatic date and time settings are enabled. This allows your phone to sync with network-provided time. Head to Settings > Date & Time and toggle "Automatic date & time" on. This should help your device stay updated.
- Restart Your Device: A simple restart can resolve various glitches, including time display issues. Power off your phone and turn it back on to refresh all settings and connections.
If you've tried the above methods and the time is still off, you might want to check for software updates or consider resetting your network settings. Remember, keeping your device synced with accurate time is essential for staying on schedule. With these troubleshooting steps, you should be able to resolve your time issues quickly and efficiently.
Frequently Asked Questions
How Can I Check My Current Time Zone on Android?
To check your current time zone on Android, go to your device's settings. Look for "Date & time" under the system settings, where you'll find the time zone settings, allowing you to verify your current time.
Will Changing Time Settings Affect My Alarms and Reminders?
When you adjust your time settings, picture your alarms ringing and reminders buzzing like a clockwork symphony. Changing the time can affect alarm functionality and reminder reliability, so double-check everything to stay on schedule!
Can I Set Different Time Zones for Different Apps?
You can't set different time zones for different apps directly. However, some time zone apps offer app-specific settings. Check individual app preferences to see if they allow you to customize time zone settings for better accuracy.
What to Do if My Phone Shows the Wrong Time?
If your phone shows the wrong time, check for time synchronization issues. Confirm automatic time adjustment is enabled in settings. This should help your device update to the correct time based on your location.
Are There Apps to Help Manage Time Zones on Android?
Imagine juggling time zones like a circus performer. You can use time zone apps and time management tools like Time Zone Converter or World Clock to effortlessly keep track of different times while staying organized.
Conclusion
Setting the correct time on your Android phone is essential for staying punctual and organized. For instance, imagine you're traveling from New York to California for a business meeting. If you forget to adjust your time zone, you might end up late. By following the steps outlined, you can easily set your U.S. time zone, sync with the network, and make certain you're always on schedule, no matter where you are in the country.


Leave a Reply