Imagine you're trying to capture a tutorial on your favorite app, but you're unsure how to record it on your Android device. If your phone runs Android 10 or later, you might be in luck, as it likely has a built-in screen recording feature. You can quickly access this through the Quick Settings menu, but there are also additional options and settings to take into account for a smoother experience. What if your device is older, or you want more advanced features? There's more to explore that could enhance your recording process.
Checking Android Compatibility
Before diving into screen recording on your Android device, it's vital to check its compatibility. You'll want to verify that your device meets the necessary specifications to support this feature effectively. Most modern Android devices, especially those running Android 10 or later, come with built-in screen recording capabilities. However, it's important to confirm your specific model's compatibility.
Start by checking your device specifications. Look for information about the Android version and any hardware requirements that may be needed for screen recording. If your device is outdated, you might not have access to this feature. Additionally, older models may require third-party apps to enable screen recording, which can vary in quality and functionality.
Next, consider any software updates. Keeping your device up to date can greatly enhance performance and introduce new features, including screen recording options. Go to Settings, then About Phone, and check for any available updates. Installing the latest software can resolve bugs and provide you with the best experience possible.
If your device meets the specifications and is up to date, you're on the right track to starting your screen recording journey. If not, you might need to look into upgrading your device or exploring alternative apps that can offer screen recording functionalities. By verifying compatibility first, you'll save yourself time and frustration later on.
Using Built-in Screen Recorder
If your Android device is compatible and up to date, you're ready to start using the built-in screen recorder. This feature makes capturing your screen effortless, whether you're making tutorials, recording gameplay, or saving important information. The built-in features are designed to be user-friendly, so you can focus on what matters most.
To begin, navigate to the screen you want to record. Before hitting record, consider some screen recording tips to enhance your experience. First, verify your device is in a quiet environment to avoid unwanted noise if you plan to narrate. Adjust your notifications to prevent interruptions during the recording, as these can pop up unexpectedly.
When you're ready to start recording, simply access the screen recorder option from your device's settings or app drawer. You'll likely find options for adjusting video quality and whether to include audio. Choose the settings that best fit your needs. Once you start recording, a small overlay might appear, allowing you to pause or stop the recording easily.
After you've finished, you can find your recorded videos in the gallery or designated folder. Take a moment to review your footage. If you need to make edits, various apps can help you trim or enhance your recordings. By utilizing the built-in features of your Android device, you can create high-quality screen recordings without any hassle. Happy recording!
Screen Recording With Quick Settings
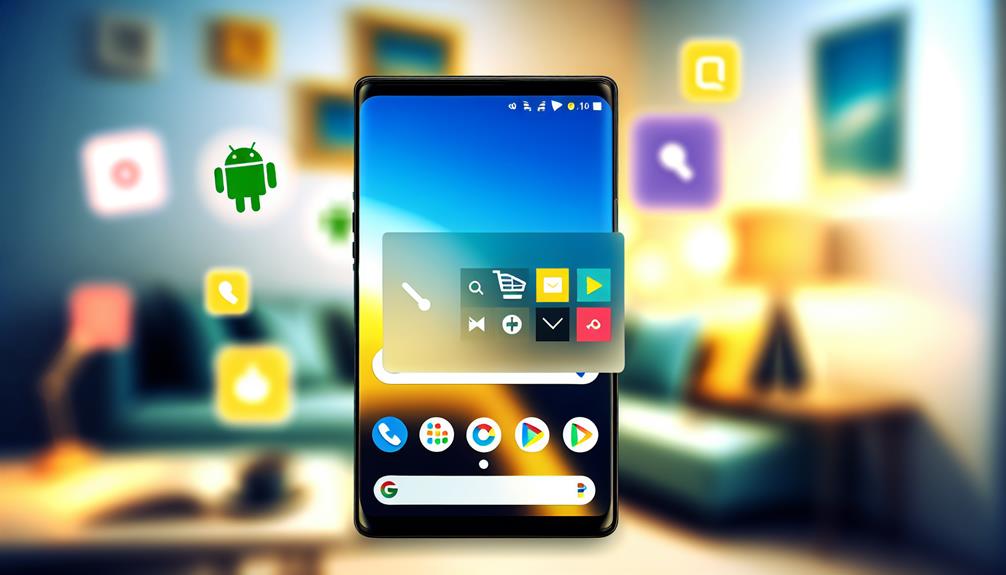
To start screen recording on your Android, just access the Quick Settings menu by swiping down from the top of your screen. Once you find the screen recording option, tap it to begin capturing your activity. When you're done, simply stop the recording, and it'll automatically save to your device.
Access Quick Settings Menu
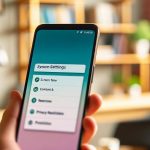
Accessing the Quick Settings menu is a seamless way to start screen recording on your Android device. To get there, swipe down from the top of your screen. This action not only gives you quick access to essential settings but also lets you view notifications. If you don't see the screen recording option right away, it might be hidden.
You can customize your Quick Settings menu by tapping the pencil icon or "Edit," which allows you to rearrange or add features. Look for the screen recording option and drag it into your main Quick Settings for easy access. If you're not seeing the option, you might need to check if your device has the feature enabled. In some cases, enabling developer options may reveal additional capabilities, but this varies by device.
Once you've got the screen recording icon in your Quick Settings, you're set for the next steps. Remember, the Quick Settings menu is designed to make your life easier, so take advantage of this handy tool to streamline your recording process.
Start Screen Recording
Starting your screen recording is an exciting way to capture moments on your Android device. To get started, swipe down from the top of your screen to access the Quick Settings menu. Look for the screen recording icon—it's often labeled as "Screen Record" or represented by a camera symbol. If you don't see it right away, you may need to edit your Quick Settings to add the feature.
Once you've located the icon, tap it, and you'll likely be prompted to select your audio preferences. If you want to narrate your actions or capture game sounds, make certain to enable the audio option. Screen recording benefits include easily creating tutorials, sharing gameplay highlights, or saving video calls for future reference.
Before you start, here are a couple of screen recording tips: verify your device has enough storage space to save your recording, and consider closing unnecessary apps to minimize distractions. When you're ready, hit "Start" and your recording will begin, capturing everything on your screen. Enjoy this powerful feature and make the most of your Android experience!
Stop and Save Recording
Once your screen recording has captured everything you want, stopping and saving it is a straightforward process. To do this, simply swipe down from the top of your screen to access the Quick Settings menu. Look for the screen recording notification, which usually shows a recording timer. Tap on it to stop the recording.
After you stop it, you'll often get a prompt asking if you want to save the video. Tap "Save" or "OK" to keep your recording. Your video will typically be saved in a default location, like your gallery or a specific folder for screen recordings.
Here are some screen recording tips to take into account when saving your recordings:
| Tip | Description | Benefits |
|---|---|---|
| Choose Recording Formats | Select formats like MP4 or AVI | Widely supported and easy to share |
| Trim Unwanted Sections | Edit out unnecessary parts | Makes sharing more efficient |
| Check Storage Space | Verify you have enough space | Prevents interruptions during recording |
Following these steps will help you efficiently stop and save your screen recordings, guaranteeing you have high-quality videos ready for sharing or reviewing later!
Third-Party Screen Recording Apps
When it comes to screen recording on Android, third-party apps can offer a range of features and enhancements that built-in options might lack. If you're looking for more control over your recordings, exploring the best screen recorders available in the Google Play Store is a great idea. These apps can provide advanced functionality like customizable resolutions, frame rates, and audio settings, which can greatly improve your recording experience.
One of the most considerable advantages of using third-party apps is the variety of features they offer. For instance, some apps allow you to record internal audio, while others may let you add overlays or edit recordings after capturing. Doing a features comparison between these apps can help you decide which one suits your needs best. You might find options that allow for live streaming, gameplay recording, or even a built-in video editor, which can be incredibly useful.
Popular choices include AZ Screen Recorder, Mobizen, and DU Recorder, each with its unique strengths. AZ Screen Recorder is known for its user-friendly interface, while Mobizen offers robust editing tools. DU Recorder stands out for its live-streaming capabilities. By checking out user reviews and ratings, you can gauge which app might be the right fit for you.
Customizing Recording Settings
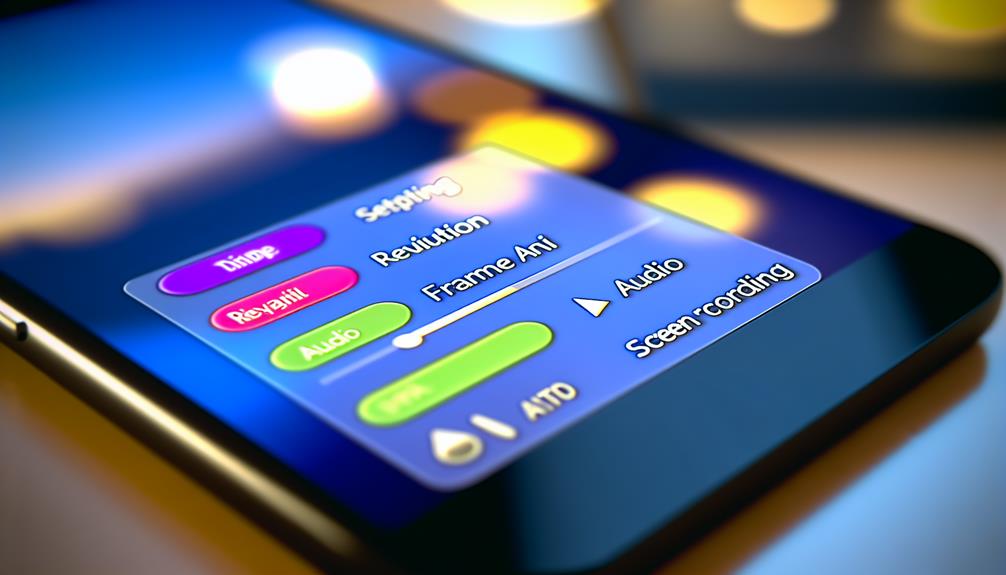
After selecting a third-party screen recording app that fits your needs, the next step is customizing your recording settings to optimize your experience. This is vital for ensuring high-quality recordings. Start by adjusting the resolution settings to match your desired output. Higher resolutions yield clearer videos, but they also take up more storage space.
You'll also want to reflect on the audio options. If you're recording gameplay or tutorials, capturing internal audio is essential. Check if your app allows you to record system sounds, microphone input, or both. This flexibility can enhance the overall quality of your recordings.
Here's a handy overview of customization options you might find in your screen recording app:
| Setting | Options |
|---|---|
| Resolution | 720p, 1080p, 4K |
| Frame Rate | 30fps, 60fps |
| Audio Input | System audio, Microphone, Both |
| Bit Rate | Low, Medium, High |
Take the time to experiment with these settings to find what works best for your specific needs. Remember, striking a balance between quality and file size is key. Once you've tailored your settings, you'll be ready to capture stunning screen recordings that meet your expectations. Happy recording!
Editing and Sharing Recordings
Editing and sharing your recordings can greatly enhance their impact and reach. Once you've captured your screen, the next step is to polish your video using various editing tools. Most Android devices come with built-in editing features, allowing you to trim unnecessary parts, add text overlays, or incorporate music. If you want more advanced options, consider downloading dedicated editing apps like KineMaster or InShot. These tools provide more flexibility and creative options, letting you produce content that looks professional and engaging.
After editing, it's time to share your recordings. There are numerous sharing platforms available, and the choice often depends on your target audience. If you're looking to reach a broader audience, platforms like YouTube or Vimeo are excellent options. They allow you to upload your videos easily and provide the tools to optimize your content for search and engagement.
For more personal sharing, consider social media platforms like Instagram, Facebook, or TikTok, which are perfect for shorter clips. You can also use messaging apps like WhatsApp or Telegram for more private sharing with friends or colleagues.
Before hitting that share button, make certain to review your video one last time. Check for any editing mistakes and ascertain the content aligns with your intended message. With the right editing tools and sharing platforms, you'll be able to showcase your screen recordings effectively and engage your audience like never before.
Troubleshooting Common Issues
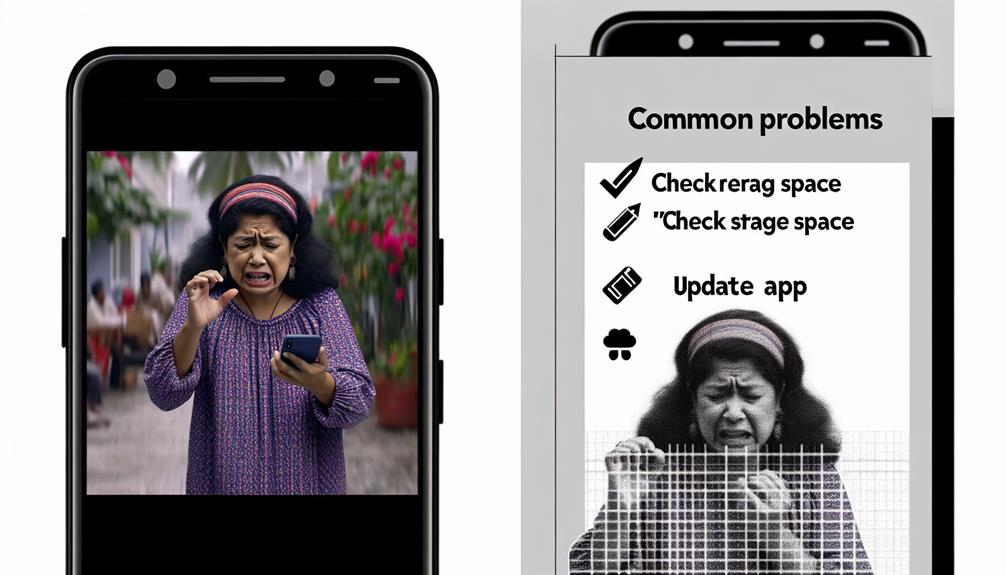
If you're running into issues while trying to screen record, it might be due to permissions not being granted or insufficient storage space. Make sure your app has the necessary permissions and check your available storage to avoid interruptions. Let's tackle these common problems to get you back to recording smoothly.
Permissions Not Granted
When your device's screen recording feature isn't working, it often boils down to permissions not being granted. To troubleshoot this issue, you should first check your app permission settings. Most screen recording apps require specific permissions to function properly, including access to your screen and audio. If these permissions aren't enabled, you won't be able to record anything.
To resolve this, go to your device's settings and navigate to the "Apps" or "Applications" section. Find the app you're using for screen recording and tap on it. Here, you'll see an option for "Permissions." Make sure that all necessary permissions, particularly screen recording permissions, are turned on.
If you're using the built-in screen recording feature, similar steps apply. Go to your settings, look for "Advanced Features" or "Screen Recording," and verify that permissions are granted.
Once you've confirmed that all permissions are enabled, try recording again. If it still doesn't work, you may want to restart your device or update the app to the latest version. This should help you get back to recording your screen smoothly.
Storage Space Issues
Storage space issues can be a significant roadblock when trying to record your screen on Android. If your device is low on storage, you might encounter errors or find that recordings aren't saved at all. To tackle this, you'll need to focus on effective storage management.
Start by checking your available space in the settings. Navigate to "Storage" to see how much room you have left. If you're running low, it's time to contemplate optimizing space. Delete any unnecessary apps, photos, or videos that you no longer need. You can also clear app caches, which can free up a surprising amount of space.
Another effective strategy is to transfer files to external storage or cloud services. This not only helps in reclaiming space but also keeps your data secure. Contemplate using apps that specialize in storage management to help identify large files that may be taking up unnecessary space.
Frequently Asked Questions
Can I Record My Screen Without Sound on Android?
Yes, you can record your screen without sound on Android. Just check your screen recording options, and adjust the sound settings to mute audio. This way, you'll capture visuals without any background noise.
Is There a Time Limit for Screen Recordings on Android?
Yes, there can be a time limit for screen recordings on Android. It varies by device and app. Check your recording settings to see if there's a maximum screen recording duration specified for your device.
Does Screen Recording Affect Battery Life Significantly?
Screen recording can impact battery life, especially with high recording quality settings. You'll notice increased battery consumption during longer sessions, so it's wise to monitor your device's power level while recording to avoid interruptions.
Can I Record While Playing Games on Android?
Yes, you can record while playing games on Android. For smooth gameplay, consider game recording tips like closing background apps and using reliable screen recording apps. This helps guarantee peak performance and high-quality recordings during your gaming sessions.
Will Screen Recording Capture Notifications and Alerts?
Screen recording's subtle snags include sneaky notifications and alerts popping up. You'll want to manage your notifications for privacy concerns. To keep your content clean, silence distractions before starting your recording adventure. Stay focused!
Conclusion
To sum up, screen recording on Android is as easy as snapping a photo once you've got the right tools. Whether you're using the built-in feature or a third-party app, you can capture and share your screen effortlessly. Just remember to customize your settings to suit your needs, and don't hesitate to edit your recordings for a polished finish. With these tips, you'll be sharing your screen like a pro in no time!


Leave a Reply