If you've ever wanted to capture the breathtaking beauty of the northern lights with your iPhone 11, you're in for a treat. The iPhone 11, with its advanced camera technology, can produce stunning aurora photos if you know how to optimize its features. Key steps include enabling Night Mode and adjusting exposure settings, but that's just the beginning. Have you considered the importance of a sturdy tripod or the convenience of using an Apple Watch for remote shutter activation? These elements can make all the difference in your quest for the perfect shot. What other tips can elevate your aurora photography to the next level?
Choosing the Right Iphone
When it comes to capturing the mesmerizing northern lights, choosing the right iPhone is essential. The iPhone 11 stands out as an excellent choice due to its advanced camera technology, particularly the Night Mode feature, which is critical for low-light photography. Compared to older models, the iPhone 11 offers considerable improvements, making it a more capable device for capturing the auroras.
First, familiarize yourself with the iPhone 11's Night Mode. This feature automatically activates in low-light situations, but you can also manually enable it for ideal results. Night Mode allows for longer exposure times, which is essential for capturing the intricate details and vibrant colors of the northern lights. The iPhone 11 supports a maximum exposure time of up to 30 seconds when used with a tripod. This extended exposure time helps gather more light, resulting in clearer and more detailed images.
Moreover, mastering exposure adjustments is key. While the iPhone 11 performs well automatically, manual adjustments can greatly enhance your photos. To adjust the exposure, tap the screen to focus on the auroras, then slide your finger up or down to modify the exposure level. Increasing the exposure time will help you capture more light and detail, but be mindful of overexposure, which can wash out the colors.
Although newer models like the iPhone 13 offer even better camera capabilities, the iPhone 11 remains a strong contender. By understanding and utilizing Night Mode and exposure adjustments, you can effectively capture stunning images of the northern lights. With the right techniques, your iPhone 11 can transform those ethereal skies into breathtaking photographs.
Enabling Night Mode
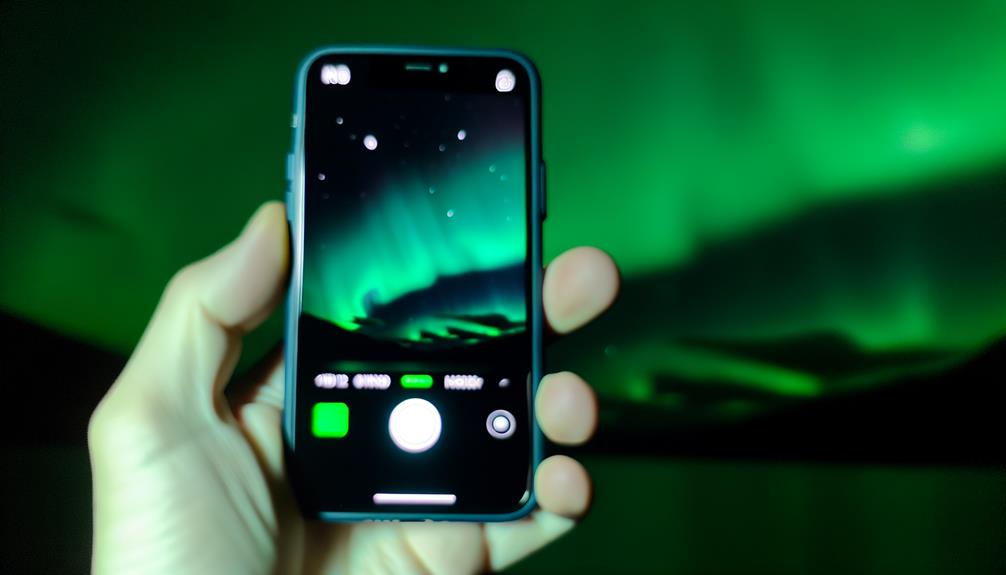
To capture the northern lights effectively with your iPhone 11, ensuring Night Mode is enabled is essential. Night Mode automatically activates in low-light conditions, which is indicated by a yellow Night Mode icon on your display. To enable it, simply open the Camera app. As light levels drop, Night Mode will engage, optimizing your device for low-light photography.
When you're ready to capture the northern lights, you'll notice the Night Mode icon at the top of the screen. Tap this icon to access the Exposure Adjustment slider. By default, exposure times in Night Mode range from 1 to 3 seconds. This range is typically sufficient for capturing the initial glow of the auroras. However, to capture more detailed aurora images, especially when using a tripod, you can extend the exposure time up to 30 seconds.
Using a tripod is highly recommended when aiming for longer exposure times, as it helps prevent camera shake, ensuring sharper and more vibrant photos. Adjust the exposure time by sliding the Exposure Adjustment slider to the desired duration. Remember, longer exposure times will allow your camera to absorb more light, revealing intricate details and colors of the northern lights.
Ensuring Night Mode is enabled and adjusting the exposure appropriately are critical steps. By meticulously following these advanced techniques, you can maximize your iPhone 11's capabilities to capture the northern lights in all their glory. Keep the Night Mode icon visible and make precise Exposure Adjustments to achieve the best possible results in your aurora photography endeavors.
Adjusting Exposure Time
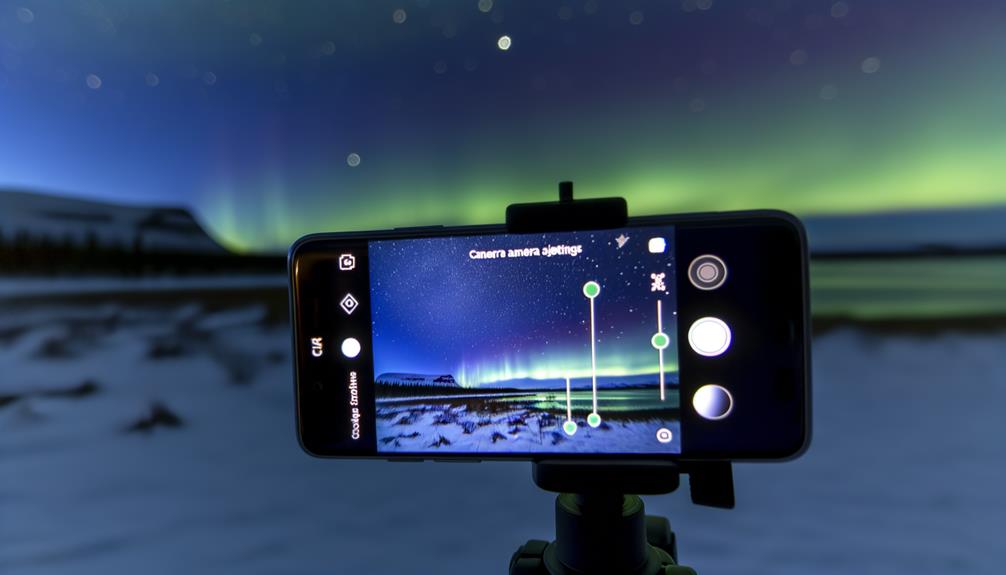
With Night Mode enabled, fine-tuning the exposure time is the next step to perfecting your aurora photos. In order to adjust the exposure time on your iPhone 11, first tap the arrow at the top of the camera app to access the hidden settings. Select the Night Mode icon, and you'll see a slider that allows you to adjust the exposure time.
Here are some key points to take into account when adjusting the exposure time:
- Tripod Use: For the best results, especially in low-light conditions, mount your iPhone on a tripod. This will allow you to extend the exposure time up to 30 seconds without introducing motion blur.
- Handheld Shots: If you're shooting handheld, aim for an exposure time around 10 seconds. This balances capturing the aurora's brightness with minimizing camera shake.
- Environmental Factors: Wind or vibrations can affect the clarity of your photo. If these conditions are present, reduce the exposure time to avoid blurriness.
- Intensity of the Aurora: Brighter auroras may require shorter exposure times, while dimmer displays can benefit from longer exposures. Adjust accordingly to capture the ideal light.
- Preview and Adjust: Always review your photos after each shot. If the image is overexposed or underexposed, tweak the exposure time as necessary to find the perfect balance.
Fine-Tuning Exposure
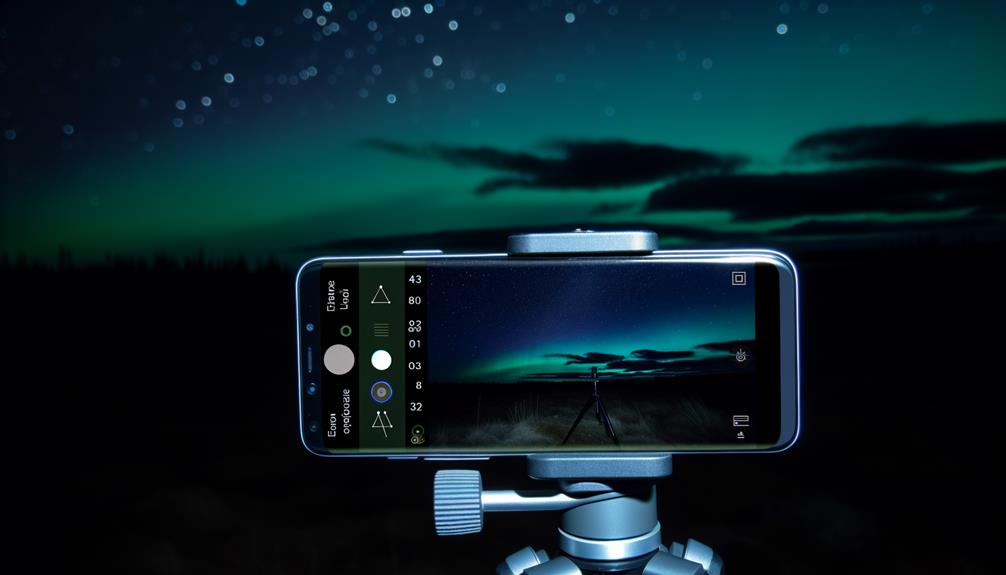
Mastering the fine-tuning of exposure is essential for capturing stunning aurora photos with your iPhone 11. First, access the hidden settings by tapping the top arrow in the camera app, which will bring up Night Mode adjustments. This is where you'll perform the critical task of Exposure Adjustment.
Begin by setting the Exposure Adjustment to a negative value, around -0.7. This helps prevent overexposure, especially in bright conditions or when shooting against reflective surfaces like snow. Overexposure can wash out the vibrant colors of the aurora, leaving you with less striking images.
The Night Mode slider is your next tool. By default, it allows you to adjust exposure times from 1 to 3 seconds. However, when using a tripod, you can extend this to a maximum of 30 seconds. This extended exposure time lets more light in, capturing the full splendor of the aurora.
Experimentation is key. As the intensity of the aurora and environmental factors can vary, you'll need to try different exposure values. Start with shorter exposures, then gradually increase the time. Each environment and aurora display is unique, so there's no one-size-fits-all setting.
Regularly review the images you capture. This iterative process helps you understand how different settings affect your photos. If an image appears too dark, increase the exposure time slightly. Conversely, if it's too bright, reduce the exposure time or adjust the Exposure Adjustment setting further into the negative.
Using a Tripod
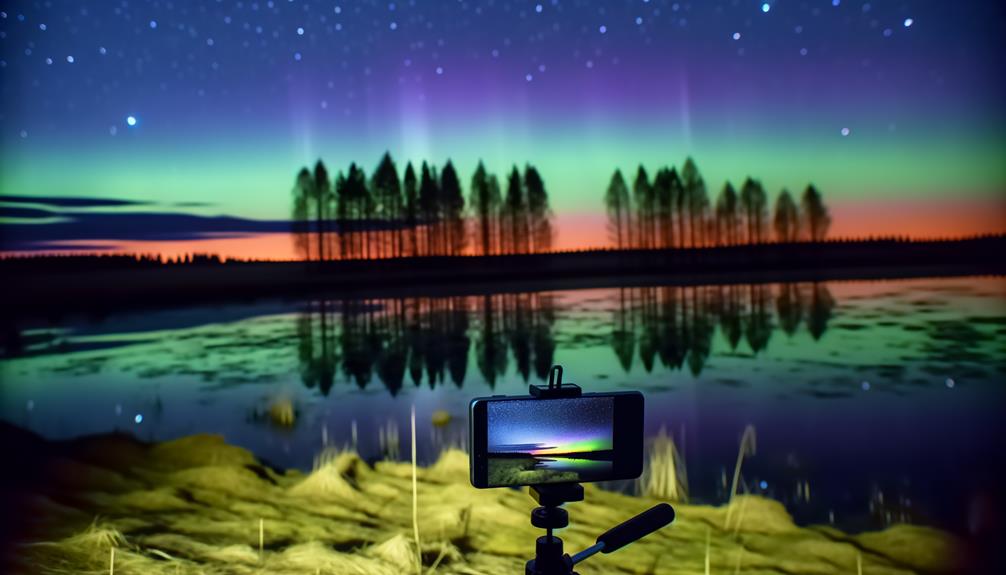
Using a sturdy tripod is essential for capturing sharp aurora photos with your iPhone 11, particularly during long exposures up to 30 seconds. Opt for a metal tripod for cold weather durability and make certain it's positioned on a flat surface to minimize vibrations. Secure your iPhone 11 properly and utilize the timer or remote shutter to reduce camera shake for the clearest shots.
Ensuring Stability
When capturing the mesmerizing aurora with your iPhone 11, guaranteeing stability through the use of a tripod is paramount. The low light conditions of the northern lights require a steady platform to achieve sharp, clear images. A sturdy tripod will effectively minimize camera shake during long exposure shots, which is essential for capturing the aurora's brilliance.
To maximize the stability of your setup and enhance your aurora photography, follow these guidelines:
- Choose a sturdy tripod: Opt for a tripod that can withstand uneven surfaces and minimize vibrations.
- Maximize exposure time: Set your iPhone 11 to a maximum exposure time of 30 seconds to capture the full detail of the aurora without overexposing the image.
- Stabilize on uneven terrain: Guarantee the tripod legs are firmly planted, even on rocky or snowy ground, to prevent any movement.
- Avoid light pollution: Position your tripod in a dark, open area to avoid interference from artificial lights.
- Secure your iPhone 11: Use a reliable mount to keep your iPhone steady and aligned correctly throughout the exposure.
Tripod Material Choice
Selecting the right tripod material is vital for capturing stunning aurora photos with your iPhone 11. When shooting in cold weather, durability and stability are paramount. Metal tripods, particularly those made from aluminum or carbon fiber, excel in these conditions. They offer lightweight portability for travel, making them easier to carry without sacrificing the necessary support for long exposure shots.
For peak performance, choose a tripod with a robust locking mechanism. This feature is essential to prevent any movement during long exposures, which could blur your aurora images. Confirming that your tripod locks securely will maintain the camera's stability, allowing you to capture crisp, clear photos of the northern lights.
Additionally, consider the height and adjustability of the tripod. A versatile tripod that can extend to various heights and angles will enable you to frame the aurora effectively. This flexibility allows you to experiment with different perspectives and compositions, enhancing the overall quality of your shots.
Investing in a sturdy tripod not only minimizes camera shake but also guarantees stability during extended exposure times. By choosing the right tripod material, you'll dramatically improve your aurora photography with your iPhone 11.
Recommended Accessories
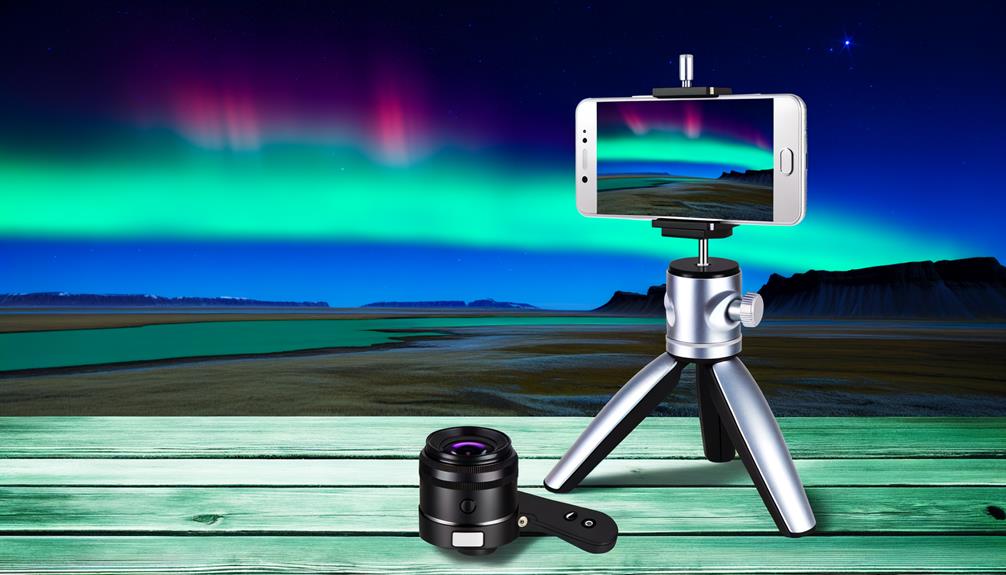
To achieve ideal stabilization during your aurora photography session, a sturdy tripod is non-negotiable for minimizing blurriness in long exposure shots. Utilize an Apple Watch to remotely trigger your iPhone 11's camera, effectively reducing any shake caused by physically pressing the shutter button. Additionally, keep a portable charger on hand to guarantee your device remains powered, especially in remote settings.
Essential Tripod Features
Guaranteeing you have a sturdy tripod is vital for capturing sharp and clear images of the aurora with your iPhone 11. The stability a tripod provides is essential for long exposure shots, which are important for photographing the northern lights. When selecting a tripod, consider the following features to enhance your aurora photography experience:
- Durable Materials: Opt for tripods made from metal to withstand cold weather conditions and prevent wobbling.
- Lightweight: Brands like Joby offer lightweight tripods that are ideal for travel while still maintaining excellent stability for your iPhone 11.
- Adjustable Height: A tripod with adjustable height settings allows you to accommodate different shooting angles and varied terrain, guaranteeing versatility in your shots.
- Quick-Release Plate: A tripod equipped with a quick-release plate facilitates easy setup and adjustments, allowing you to swiftly capture the northern lights without hassle.
- Stability: Focus on tripods that emphasize stability during long exposure to guarantee your images remain crisp and free from motion blur.
Optimal Stabilization Tools
Having a reliable tripod is just the starting point for capturing stunning aurora photos with your iPhone 11. To truly enhance your stabilization setup, consider investing in a lightweight tripod, such as those from Joby. These tripods are ideal for travel and can withstand cold weather conditions, guaranteeing you're well-prepared for northern lights photography. Opt for a model with an adjustable ball head, allowing you to easily position your iPhone at various angles for ideal framing of the auroras.
For long-exposure shots, minimizing shake is vital. Using a remote shutter release or your Apple Watch can greatly reduce camera movement, resulting in sharper images. This hands-free approach is essential when capturing the intricate details of the aurora borealis.
Additionally, a durable, cold-weather tripod made from materials like aluminum or carbon fiber guarantees stability and longevity in harsh environments. These materials provide the necessary rigidity and resilience, important for maintaining steady shots in windy or freezing conditions.
Incorporating these advanced techniques and accessories into your photography kit will greatly enhance the quality of your aurora images, ensuring you capture the breathtaking beauty of the northern lights with precision and clarity.
Frequently Asked Questions
How Do I Take a Picture of the Night Sky With My Iphone 11?
Activate Night Mode for star photography techniques. Use a sturdy tripod and access the hidden camera settings. Adjust exposure settings with the slider. Best apps like NightCap can enhance exposure control, ensuring ideal night sky captures.
How Do I Take Good Night Pictures With My Iphone 11?
To take good night pictures with your iPhone 11, confirm Night Mode is active. Adjust exposure settings for ideal clarity, and use a tripod for stability. Fine-tune exposure durations via hidden settings, and keep your lens clean.
How Do You Take Scenic Pictures on Iphone 11?
For landscape photography, activate Night Mode for clarity. Use the 1x wide-angle lens for expansive views. Stabilize your iPhone with a tripod during long exposures. Enhance composition techniques and use advanced photo editing for best results.
How Do You Take Light Trail Photos on Iphone 11?
To capture light trail photos on your iPhone 11, access the camera settings, use Night Mode for long exposure, and guarantee tripod stability. Adjust the exposure time up to 30 seconds, and experiment with different settings to avoid overexposure.
Conclusion
With your iPhone 11, capturing breathtaking aurora photos involves a mix of technical savvy and the right gear. Enable Night Mode, use a sturdy tripod for stable long exposures, and start with a -0.7 exposure value to prevent overexposure. Review and adjust settings based on the aurora's brightness, and use an Apple Watch for remote shutter control to avoid camera shake. With these advanced techniques, you'll be well-equipped to photograph the mesmerizing auroras beautifully.


Leave a Reply