Capturing the mesmerizing Northern Lights with your iPhone can be quite rewarding, provided you know how to utilize its capabilities effectively. Start by selecting a model like the iPhone 11 Pro or newer, ensuring you've got the right tech in hand. Stabilization is key, so a sturdy tripod will be your best ally during long exposures. Night Mode should be activated, but how do you tweak the exposure settings to avoid overexposure and get that perfect shot? And what about incorporating interesting foregrounds for added depth? Let's explore these essential techniques further.
Choose the Right Iphone
When aiming to capture the mesmerizing Northern Lights, selecting the right iPhone is essential to achieving breathtaking results. For ideal Northern Lights photos, you'll want to choose an iPhone 11 Pro or newer. These models come equipped with Night Mode, which greatly enhances performance in low-light conditions. Night Mode automatically adjusts the camera settings to capture more light, making it vital for photographing auroras.
The iPhone 13 and later models boast advanced camera features that further improve image quality in challenging lighting. With larger sensors and superior computational photography, they provide better clarity and vibrancy in your Northern Lights photos. These enhancements are not just incremental; they make a considerable difference in the richness and detail of the captured images.
Understanding the camera specifications of your iPhone can greatly elevate your photography experience. For instance, the iPhone 11 Pro features a triple-camera system with a wide and ultra-wide lens, allowing for versatile framing options. Knowing how to adjust exposure time manually can also help you capture the Northern Lights more effectively. Longer exposure times allow more light to hit the sensor, resulting in more detailed and vivid images of the auroras.
Familiarize yourself with your iPhone's various camera settings to maximize these advanced features. This knowledge will enable you to make quick adjustments in the field, ensuring that you capture the Northern Lights in all their glory. By choosing an iPhone with these capabilities, you'll be well-equipped to start on a photography adventure that does justice to the awe-inspiring spectacle of the Northern Lights.
Enable Night Mode
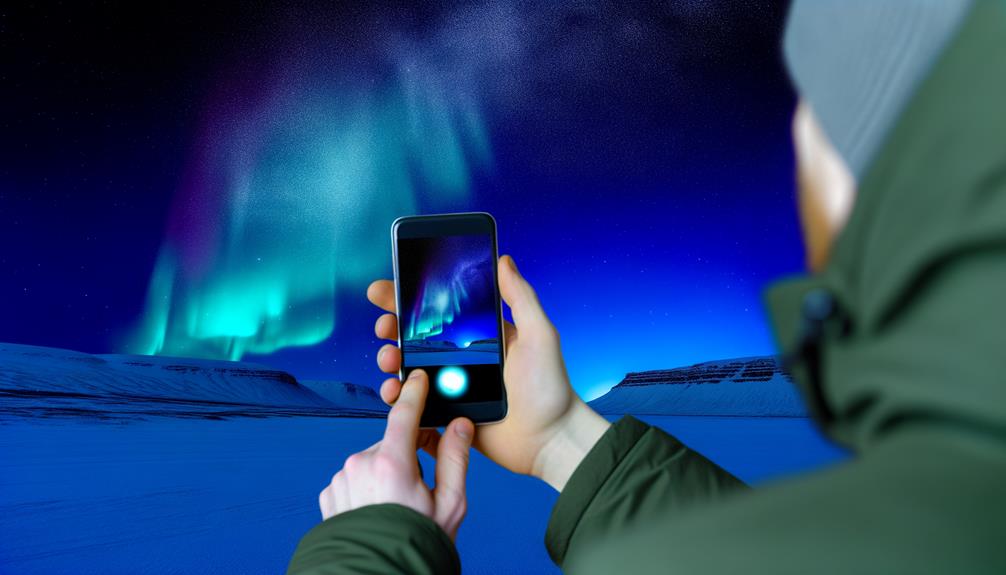
Equipped with the right iPhone, you're ready to harness its full potential by enabling Night Mode. This feature, available on iPhone 11 and newer models, is essential for capturing the ethereal beauty of the northern lights. To activate Night Mode, simply open the iPhone's camera app and look for the Night Mode icon in the top left corner. This icon will automatically appear when your device detects low-light conditions, indicating that Night Mode is engaged and ready to optimize your shot.
To further enhance your photos, you can manually adjust your exposure. Tap on the Night Mode icon and use the slider to set the exposure time, which can go up to a maximum of 30 seconds. This allows your camera to capture more light, making those long-exposure shots more vivid and detailed. Remember, the key to stunning images of the northern lights is capturing the subtle shifts and colors, which is where adjusting your exposure becomes invaluable.
For the best results, always use a sturdy tripod. Long-exposure shots are particularly susceptible to blurriness caused by even the slightest hand movement. A tripod will guarantee stability, allowing your iPhone to focus on the intricate dance of the northern lights without interruption.
Lastly, make certain the Night Mode toggle is preserved in your camera settings. Navigate to Settings > Camera > Preserve Settings. This guarantees that Night Mode remains active, providing quick access whenever you're photographing the northern lights. With these steps, you're perfectly positioned to capture stunning images of this natural wonder, making the most of your iPhone's advanced features.
Adjust Exposure Time
Adjusting the exposure time on your iPhone is fundamental for capturing the full splendor of the northern lights. To start, access the hidden settings by tapping the top arrow in the camera app. From there, use the Night Mode icon to adjust the exposure duration. Night Mode can extend exposure times up to 30 seconds, which is essential for capturing the aurora borealis in low-light conditions.
When you're ready to photograph, set up your iPhone on a tripod to keep it steady. Begin with longer exposure times, around 10 to 30 seconds, to maximize light capture and enhance the clarity of your photos. In areas with bright surroundings like snow, it's important to experiment with exposure adjustments using negative values. This helps prevent overexposure, ensuring the auroras don't lose their vivid colors.
Here's a quick reference table for adjusting exposure times based on different conditions:
| Condition | Suggested Exposure Time | Notes |
|---|---|---|
| Clear sky, no light pollution | 15-30 seconds | Maximizes light capture |
| Light pollution present | 10-20 seconds | Reduces impact of artificial lights |
| Snowy surroundings | 5-15 seconds | Prevents overexposure |
| Intense auroras | 10-25 seconds | Captures rapid movements |
| Faint auroras | 20-30 seconds | Enhances visibility |
Continuously take test images while adjusting the exposure time. Fine-tuning is necessary to get the best results based on real-time conditions. Also, consider shooting in RAW format to retain maximum detail, which is especially useful when editing photos later. By carefully managing shutter speed and exposure, you can capture the magical dance of the northern lights with artistic precision.
Fine-tune Exposure
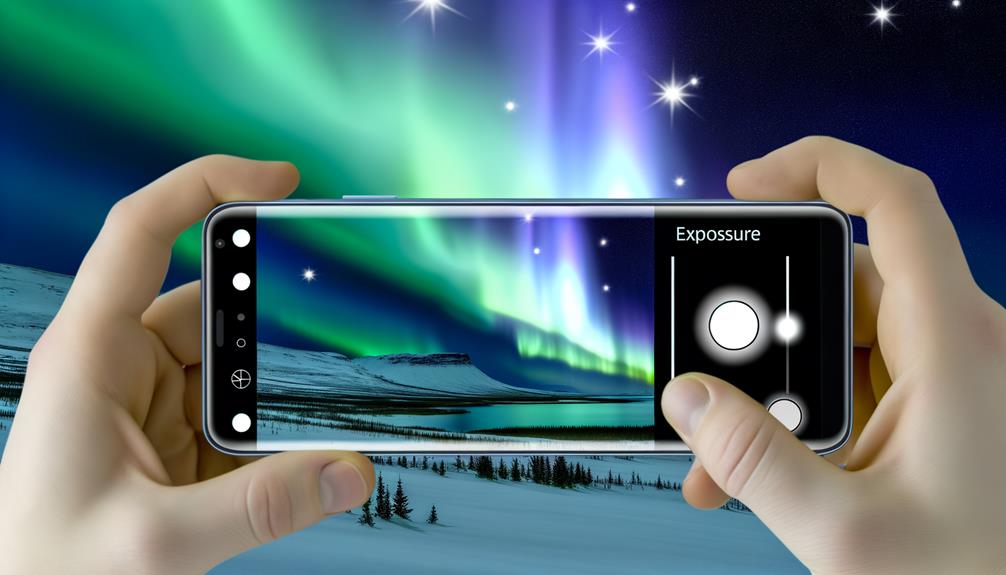
Fine-tuning exposure is vital for capturing the northern lights in all their glory. Your iPhone's camera has hidden settings that allow you to master Exposure Adjustment, giving you precise control over brightness. To access these settings, tap the arrow at the top of your camera interface. This will reveal the Exposure Adjustment feature, essential for night photos.
When you're out in the cold weather, the surrounding environment can greatly affect your photos. For instance, if you're shooting amidst snow, start with a negative Exposure Adjustment value—around -0.7. This will help you prevent overexposure and retain the intricate details of the Northern Lights. The trick is to experiment with different values, as there's no one-size-fits-all setting. Each scene and lighting condition is unique, and you'll need to adjust accordingly.
Don't forget to use the Night Mode icon. This feature allows for longer exposure times, up to 30 seconds, enhancing light capture and overall image quality. Longer exposures bring out the ethereal beauty of the Northern Lights, making your photos look almost surreal.
Regularly review the images you've taken and make necessary adjustments to the Exposure Adjustment settings. This iterative process guarantees that you're capturing the Northern Lights in their best form, with peak clarity and detail. It's a dance between adjusting settings and reviewing results, but it's worth it when you see those stunning lights rendered beautifully on your iPhone screen.
Use a Tripod
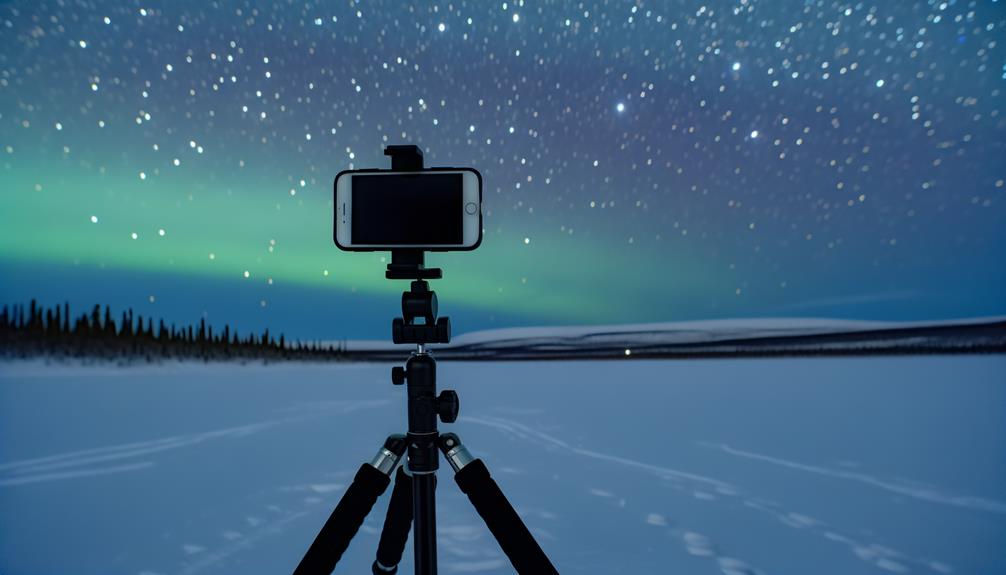
To achieve crisp, detailed photos of the Northern Lights, using a tripod is crucial. A sturdy tripod is necessary for stabilizing your iPhone during long exposure shots. Hand movements, even the slightest, can introduce blurriness, compromising the sharpness and quality of your images. Opt for a tripod that's lightweight and portable for easy carrying, but robust enough to withstand windy conditions or uneven terrain.
When setting up your tripod, verify it's on a stable surface. Any vibrations, no matter how minor, can greatly degrade the quality of your long-exposure photography. Some tripods come with hooks where you can add weight, like a camera bag, to further stabilize it against the wind. This feature is particularly useful for enhancing the sharpness of your Northern Lights photos.
With your iPhone mounted securely on the tripod, engage night mode and prepare for long exposure. To minimize camera shake during exposure, use a remote shutter release or set your iPhone's timer. This way, you avoid touching the device at the critical moment, guaranteeing your photos remain sharp and clear.
Night mode on your iPhone automatically adjusts exposure settings to capture the intricate details of the Aurora Borealis. However, the success of these settings heavily relies on the stability provided by your tripod. Even the most advanced algorithms can't compensate for a shaky camera.
In essence, a tripod elevates your Northern Lights photography from amateur to professional. It's not just a tool; it's a crucial companion in your quest to capture the ethereal beauty of the Aurora. So, don't skimp on this important piece of gear.
Essential Tips
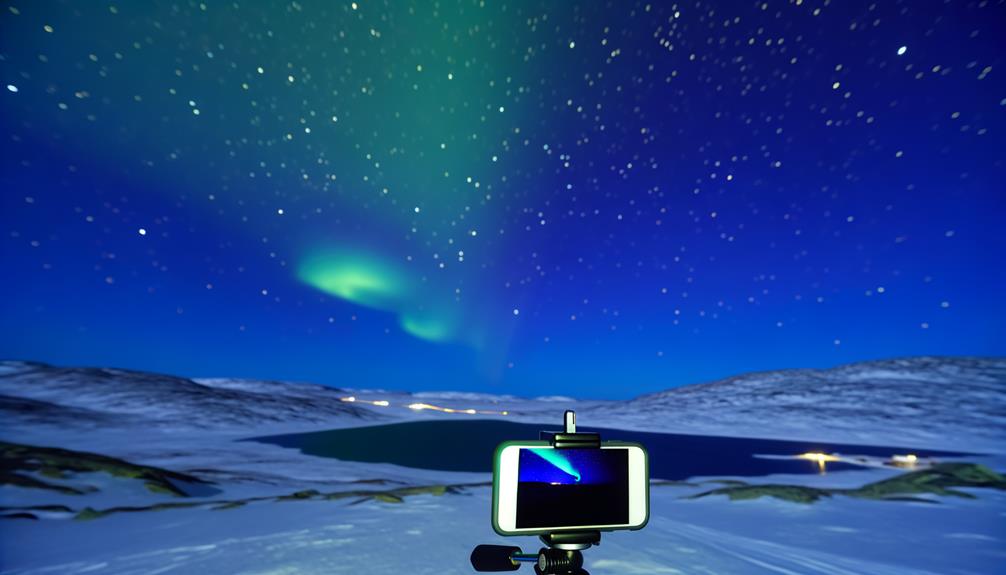
Capturing the Northern Lights with your iPhone requires several essential tips to elevate your photography from good to breathtaking. First, make certain you're using Night Mode, which automatically kicks in under low-light conditions. This mode enhances the clarity and detail of your shots, allowing you to capture the aurora with stunning precision.
Stabilizing your iPhone is vital; a sturdy tripod is your best friend here. By preventing any movement, you can take advantage of longer exposure times, sometimes up to 30 seconds, to capture more detail without blurring the image.
Next, adjust the Exposure Settings within your camera app. Since the Northern Lights can be quite bright, using negative values on the Exposure Adjustment slider will help prevent overexposure and guarantee the aurora's vibrant colors are accurately depicted.
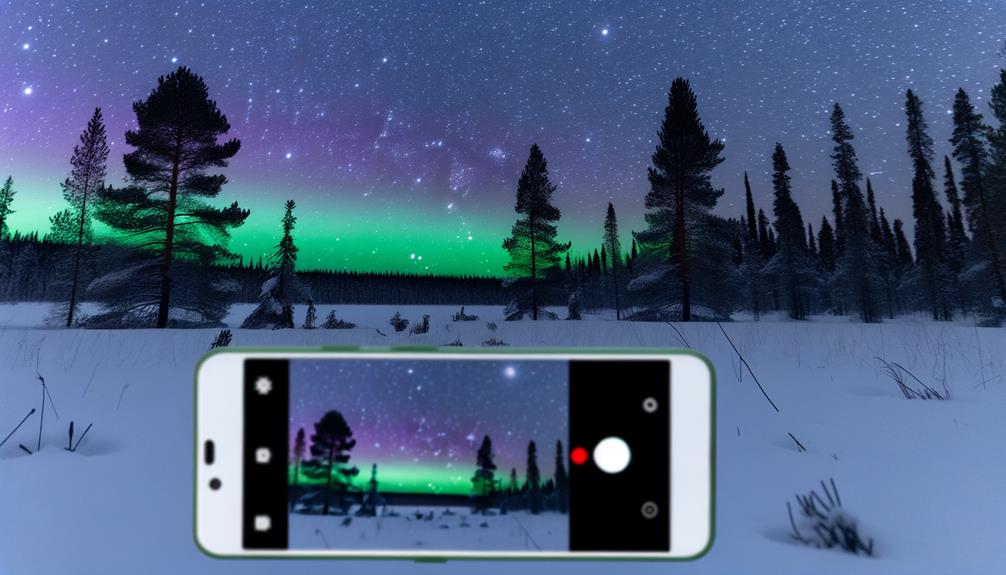
Experimenting with angles and compositions can transform a standard photo into an artistic masterpiece. Incorporate interesting foreground elements such as trees, mountains, or bodies of water to add depth and context to your images. This not only creates a more engaging photo but also highlights the natural beauty surrounding the aurora.
For those who want the highest degree of control in post-processing, consider shooting in RAW format. This format preserves more detail, giving you greater flexibility to tweak settings like white balance, exposure, and color saturation later on.
Frequently Asked Questions
Can You Take Pictures of the Northern Lights With a Phone?
Absolutely, you can capture Northern Lights photography with a smartphone. Use night sky tips: adjust exposure settings, scout locations, consider light pollution, and monitor weather conditions. For astrophotography basics, focus on landscape composition, and employ editing techniques for stunning results.
What Is the Best Iphone App for Taking Pictures of the Northern Lights?
For Northern Lights apps, "Aurora Forecast" offers predictions; "NightCap Camera" and "ProCam" provide best photography settings like long exposure tips. Compare their time lapse techniques, editing tools overview, and user reviews for capturing colors and landscape photography.
How Do I Set My Camera to Photograph the Northern Lights?
To capture the Northern Lights, use long exposure, manual settings, and a tripod. Adjust exposure time and ISO levels, disable autofocus for focus techniques, and use image stabilization. Consider light pollution, weather conditions, and composition tips for ideal results.
How to Set Night Mode on Iphone Camera?
To enable Night Mode for night photography tips, open the Camera app, check iPhone camera settings for low light techniques. Manually adjust exposure, shutter speed settings. Long exposure photography benefits from using tripod stabilizers, lens attachments options, and photo editing apps.
Conclusion
Capturing the Northern Lights with your iPhone is an exhilarating blend of art and technique. By choosing the right model, enabling Night Mode, and fine-tuning exposure settings, you'll be well-equipped for the task. Don't forget your tripod for stability and consider shooting in RAW for flexible post-processing. Adding foreground elements can enhance depth, making your photos truly enchanting. With the right preparation and a bit of patience, you'll immortalize the Aurora's ethereal beauty beautifully.



Leave a Reply