If you're looking to transfer pictures from your iPhone to your computer, you have a few straightforward options at your disposal. You could connect your device via a USB cable for direct access, or consider wireless methods like AirDrop or iCloud Photo Library. There are also third-party software solutions that promise to simplify the process even further. Each method has its own advantages and potential drawbacks, so understanding which one suits your needs best is essential. Let's explore these options in detail to help you make an informed choice.
Using a USB Cable
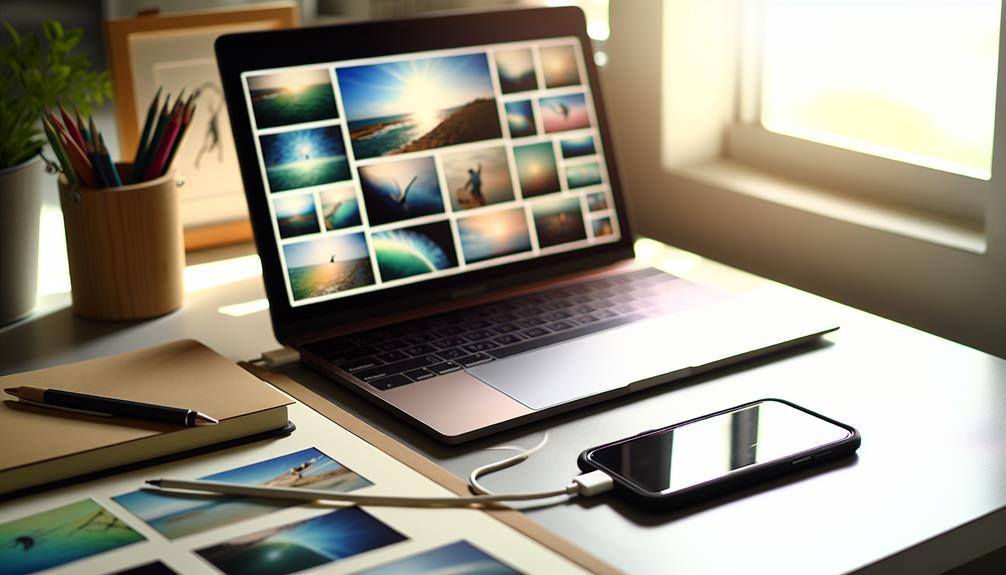
To kick off the process of transferring pictures from your iPhone to your computer, you can easily use a USB cable. This method is straightforward and often provides faster transfer speeds compared to wireless options. First, make sure you've got a compatible USB cable. Most iPhones come with a Lightning cable, but if you're using an older model, it might have a 30-pin connector. Having the right cable is vital for a smooth transfer.
Once you've connected your iPhone to the computer, access your iPhone and, if prompted, tap "Trust This Computer." This step is important for establishing a secure connection between your devices. Open the file explorer on your computer, and you should see your iPhone listed as a device.
Navigate to the DCIM folder, where your photos are stored. Here, you'll find folders with your images. You can select individual pictures or entire folders to copy. Drag and drop them into a designated folder on your computer. Depending on the number of photos and your USB cable's transfer speed, this process could take a few moments.
If you experience any issues, check your cable compatibility and verify both devices are updated. Using a USB cable not only guarantees a more reliable connection but also minimizes the hassle of dealing with slow transfer speeds that can occur with other methods. Following these steps will make sure your photos are safely transferred to your computer with ease.
AirDrop for Mac Users
AirDrop offers a seamless way to transfer pictures from your iPhone to a Mac, providing a wireless alternative that's both fast and easy. To get started, make certain both your iPhone and Mac have Wi-Fi and Bluetooth turned on. Then, check your AirDrop settings on both devices. On your iPhone, swipe down from the top-right corner to access Control Center, and tap on AirDrop. You can choose to receive files from "Contacts Only" or "Everyone." On your Mac, click on the Finder icon, select AirDrop from the sidebar, and make sure it's set to allow receiving from the same options.
Once your settings are in place, open the Photos app on your iPhone, select the pictures you want to transfer, and tap the Share icon. Choose AirDrop from the options, then select your Mac from the list that appears. Your Mac will prompt you to accept the incoming files.
If you encounter issues, you may need to check your AirDrop troubleshooting steps. Make sure your devices are within 30 feet of each other, as distance can affect connectivity. Restarting both devices can also resolve connectivity issues. If the transfer still doesn't work, verify that both devices are updated to the latest operating system versions, as outdated software can hinder functionality.
Using AirDrop is a quick and efficient way to move your pictures, letting you enjoy your memories on the big screen in no time!
Icloud Photo Library

iCloud Photo Library is an excellent option for transferring pictures from your iPhone to your computer, especially if you prefer a cloud-based solution. By using iCloud, you can access your photos from any device, while ensuring they're securely stored. Here's how you can set it up and make the most of it:
- Enable iCloud Settings: Go to your iPhone's Settings, tap on your name, then select iCloud. Turn on Photos and enable iCloud Photo Library.
- Optimize Storage: In the iCloud settings, choose the "Optimize iPhone Storage" option. This will save space on your device by keeping smaller versions of your photos and storing the full-resolution images in iCloud.
- Access from Computer: On your computer, log into iCloud.com or use the iCloud app for Windows to view and download your photos easily.
- Sync Across Devices: Once iCloud Photo Library is enabled, any photo you take will automatically upload to iCloud, making it accessible on other devices.
- Ensure a Stable Connection: For a smooth transfer, make sure your iPhone is connected to Wi-Fi during uploads to avoid interruptions.
Windows Photos App
The Windows Photos app offers a straightforward way to transfer pictures from your iPhone to your computer. To get started, connect your iPhone to your PC using a USB cable. Once connected, access your iPhone and, if prompted, allow your computer to access your device. Open the Photos app on your Windows computer, and select the "Import" option in the top right corner. You'll see an option to import from your connected iPhone.
After selecting your iPhone, you can choose the photos you want to transfer. You can either import all new photos or pick specific ones. Once you've made your selection, click "Import Selected," and the app will begin transferring the files to your computer. This process not only helps you move your pictures but also keeps your photo organization simple, as the Photos app will group your images by date and event.
Once your photos are on your computer, you can take advantage of the editing tools available in the Photos app. You can crop, adjust lighting, and apply filters to enhance your images. This integration allows you to manage and modify your photos in one place, streamlining your workflow.
Third-Party Software Options

If you're looking for alternative methods to transfer pictures from your iPhone to your computer, third-party software options can be a great solution. These tools often provide enhanced features for file management and can simplify the process of backing up your photos. Here are some popular options you might consider:
- iMazing: This app allows thorough file management, letting you transfer photos, music, and more between your iPhone and computer seamlessly.
- AnyTrans: With its user-friendly interface, AnyTrans enables easy transfers and supports cloud storage synchronization for your pictures.
- Dr.Fone: Known for its versatility, Dr.Fone not only helps with photo transfer but also offers recovery solutions for lost files.
- Syncios: This software provides a robust file management system, allowing you to transfer photos and manage your iPhone content efficiently.
- FonePaw: This tool focuses on both file management and backup, making it easy to transfer photos while keeping your images organized.
Using third-party software can streamline your photo transfer process, giving you more control over your files. Many of these options also integrate cloud storage features, allowing you to back up your pictures effortlessly. Whether you need basic transfers or more advanced file management capabilities, these software solutions can cater to your needs effectively. Just make sure to choose one that suits your preferences and offers reliable customer support.
Emailing Photos to Yourself
Emailing photos to yourself is a simple way to transfer images from your iPhone to your computer. First, make sure your email is set up on your device, then select the photos you want to send. This method allows for easy access and organization of your pictures later on.
Setting Up Email
Sometimes, sending photos from your iPhone to your computer can be as simple as emailing them to yourself. To get started, you'll first need to verify your email is set up on your device. Here's how to do it effectively:
- Choose an Email Provider: Select a reliable service like Gmail, Yahoo, or Outlook.
- Download the App: If you haven't already, download the email app for your chosen provider.
- Sign In: Log in with your email address and password. Make sure you use a strong password for better email security.
- Compose an Email: Open the app, tap the compose button, and enter your email address in the recipient field.
- Add Email Attachments: Tap the attachment icon to select and attach the photos you want to send.
Once you've attached your photos, hit send. You'll then receive the email on your computer. Just remember to be cautious with email attachments; always double-check the sender and avoid opening suspicious files to maintain email security. This method is a quick way to transfer your favorite pictures without needing additional software.
Selecting Photos Easily
Selecting photos on your iPhone can be a breeze, especially when you're looking to send them to your computer. Start by opening the Photos app and browsing to your library. To make the process easier, consider doing some photo organization first. Create albums for different events or themes so you can find your pictures quickly.
Next, scroll through your library and take note of the images you want to send. You can easily select your favorites by tapping "Select" in the top right corner. Once you've chosen your desired photos, you can hit the share icon, which looks like a square with an arrow pointing up.
Choose the Mail option from the sharing menu. This will open a new email draft with your selected photos attached. Just enter your email address in the "To" field and hit send.
This method not only helps you transfer photos but also keeps your favorites organized for future use. Once you receive the email on your computer, you can download the images directly to your hard drive. It's that simple!
Using Google Photos

Many people find Google Photos to be a convenient way to transfer pictures from their iPhone to a computer. With its cloud storage capabilities, you can easily back up your photos and access them from any device. Here's how to get started:
- Download the App: Install Google Photos from the App Store on your iPhone.
- Sign In: Use your Google account to log in. If you don't have one, you'll need to create a new account.
- Enable Backup: Turn on backup options in the app settings. Choose whether to back up over Wi-Fi or cellular data.
- Select Photos: Choose the photos you want to upload to Google Photos. They'll be stored in the cloud.
- Access on Computer: Go to the Google Photos website on your computer and sign in. Your uploaded photos will be available for download.
Using Google Photos not only simplifies transferring pictures, but it also provides reliable backup options. You won't have to worry about losing your cherished memories since they're safely stored in the cloud. Plus, the service offers additional features like photo editing and sharing options.
Frequently Asked Questions
Can I Transfer Pictures Without Using Wi-Fi or Cellular Data?
Yes, you can transfer pictures without Wi-Fi or cellular data. Use a USB connection to connect your device directly to a computer, or opt for Bluetooth transfer if both devices support it.
How Do I Ensure My Photos Are Backed up During Transfer?
To guarantee your photos are backed up during transfer, check your transfer settings. Enable automatic photo backup options in your device settings, so all pictures sync to your preferred cloud service while transferring them seamlessly.
Will Transferring Photos Delete Them From My Iphone?
Transferring photos doesn't mean they'll vanish into thin air! If your iCloud settings are enabled, your pictures stay safe in the cloud. A USB transfer also keeps them intact on your iPhone. You're good to go!
What File Formats Are Compatible When Transferring Photos?
When transferring photos, you'll find JPEG formats are widely compatible. HEIC compatibility is common on newer devices, while RAW images offer high quality. PNG options are also available, ensuring versatility in your photo management.
How Can I Transfer Photos From a Locked Iphone?
You might think transferring photos from a locked iPhone's impossible, but with iPhone security, you can use trusted recovery software or iTunes, provided you've backed up your photos beforehand. It's essential to guarantee data integrity.
Conclusion
In conclusion, moving pictures from your iPhone to your computer can be simple and stress-free. Whether you choose to connect via USB, share with AirDrop, or utilize cloud services, each method offers its own advantages. You can preserve memories, share moments, and keep your photos organized. So, don't hesitate—transfer your pictures today and enjoy the peace of mind that comes with having your cherished memories safely stored!


Leave a Reply