Your iPhone's notifications can feel like a relentless barrage of digital chaos, threatening to steal your focus at every turn. But there are effective ways to regain control and silence the noise. You'll find options to tailor alert styles for each app, or even activate a mode that lets you schedule uninterrupted time. Curious about the specific steps you can take to customize your notification experience? Let's explore how to create a more peaceful interaction with your device.
Access Notification Settings
Have you ever wondered where to find your notification settings on your iPhone? It's vital for effective notification management, especially if you're looking to minimize smartphone distractions. To access your settings, start by opening the "Settings" app on your home screen. It's that gear icon that you can't miss. Once you're in, scroll down until you see "Notifications." Tap it, and you'll be greeted with an organized list of all your apps and their respective notification settings.
In this section, you can manage how each app notifies you. You'll find options to allow or disallow notifications, customize alert sounds, and even decide whether you want banners to show up on your lock screen. This level of control is essential for tailoring your device to suit your needs and reducing those pesky interruptions throughout your day.
If you find that specific apps are constant sources of distractions, this is the perfect place to take action. You can mute notifications, change the alert style, or even schedule Do Not Disturb times, so you're not bombarded during meetings or downtime.
With just a few taps, you can greatly improve your notification management and create a more focused and less distracting smartphone experience. Remember, you hold the power to control how and when notifications come through, giving you the freedom to enjoy your iPhone without the constant buzz of distractions.
Adjust App Notifications
To adjust app notifications on your iPhone, start by accessing the notification settings for each app. You can customize preferences to fit your needs, whether that means changing alert styles or turning off sounds. Additionally, scheduling Do Not Disturb can help manage interruptions during specific times.
Access Notification Settings
When you want to take control of your notifications, accessing the Notification Settings on your iPhone is essential. To get started, open the Settings app on your device. Scroll down until you find the "Notifications" option and tap on it. This section is where you'll find all the apps that send you notifications, allowing for effective notification organization.
Once you're in, you'll see a list of apps. Tapping on any app will take you to its specific notification settings, where you can adjust how you receive alerts. You can turn off notifications altogether for certain apps, or customize the way you receive them, ensuring notification privacy. For instance, you might want to allow notifications to appear on your lock screen but not show a preview of the message content.
Customize App Preferences
Your iPhone's notification settings can be tailored to fit your preferences, ensuring you only receive the alerts that matter most. To customize app preferences, start by opening the Settings app, then tap on Notifications. Here, you'll see a list of all your apps. Select the app you want to adjust.
Once you're in the app's notification settings, you can choose from various app notification types. You can enable or disable notifications entirely, or adjust how you receive them. For example, you can opt for banners, alerts, or badges. This way, you can have more control over what pops up on your screen.
Next, consider the notification sound options. You can change the sound for specific apps, allowing you to distinguish between notifications. If you'd prefer a quieter experience, you can also select 'None' for sound, ensuring your device won't interrupt you.
Additionally, you can toggle features like "Show Previews" to customize how much information appears in your notifications. By fine-tuning these settings, you'll create a notification experience that aligns perfectly with your lifestyle.
Schedule Do Not Disturb
Enabling Do Not Disturb on your iPhone allows you to silence notifications during specific times, helping you focus without distractions. To schedule Do Not Disturb, open your Settings app and tap on "Focus." From there, select "Do Not Disturb." You can set silent hours by activating the "Scheduled" toggle. Choose the start and end times that work best for you. This way, you'll only receive notifications outside those hours.
You can also customize your notification preferences further. In the same Do Not Disturb menu, you have the option to allow calls from certain contacts or repeat callers. This guarantees that important communications can still reach you during your silent hours while minimizing interruptions from less important notifications.
If you want to go a step further, consider using the Focus mode feature to tailor notifications based on your activities, like work or personal time. This way, you can maintain control over which apps and contacts can disturb you based on your current needs. By scheduling Do Not Disturb and adjusting your notification preferences, you can create a more productive and peaceful environment.
Enable Do Not Disturb
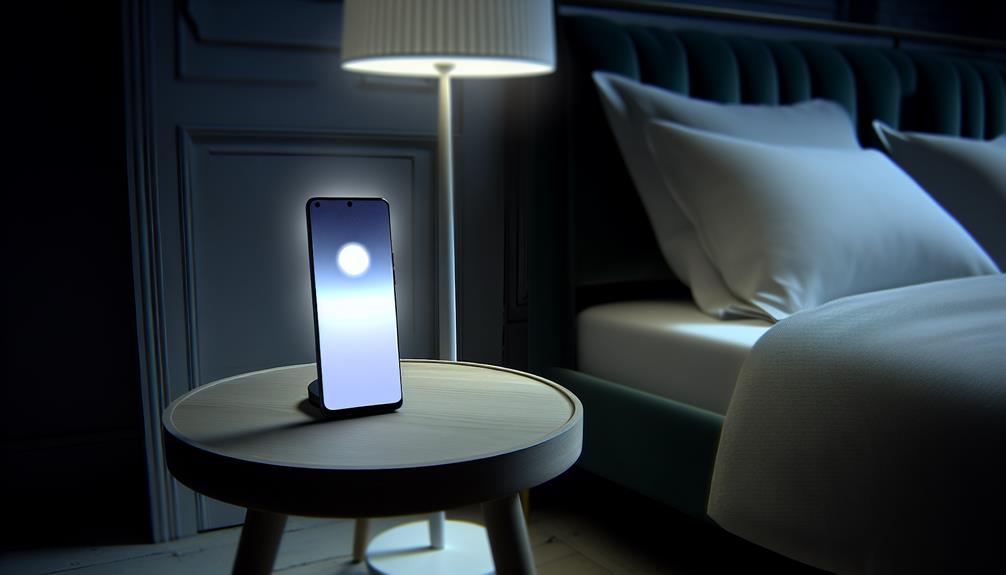
A quick way to silence notifications on your iPhone is to use the Do Not Disturb feature. This handy option lets you block all incoming calls and notification tones, ensuring that you won't be disturbed during important moments. To enable Do Not Disturb, swipe down from the top-right corner of your screen to access the Control Center. Here, you'll see a crescent moon icon—this represents silent mode. Tapping on it activates Do Not Disturb, instantly silencing notifications.
Alternatively, you can enable Do Not Disturb through the Settings app. Just go to Settings, select "Focus," and then tap on "Do Not Disturb." You can toggle it on from there, and even customize how long you want it to last. For instance, you can choose to keep it active until you leave a certain location, or until the next alarm goes off.
If you want to allow calls from specific contacts while in Do Not Disturb mode, you can adjust those settings in this menu too. This way, important notifications won't be missed, while less critical ones are silenced.
Customize Focus Modes
When you're looking to fine-tune how notifications affect your daily life, customizing Focus Modes on your iPhone can make a significant difference. Focus modes allow you to create tailored environments where specific notifications are silenced while keeping the important ones at your fingertips.
To start, go to your Settings and tap on Focus. You can either choose from existing modes like Do Not Disturb, Sleep, or Personal, or create a new one that suits your needs. Focus mode customization is key here. For instance, if you're working, you might want to allow notifications only from work-related apps and contacts. This reduces distractions, enhancing your productivity with focus mode benefits.
You can select which apps and people can still reach you while a specific Focus Mode is active. This level of control helps you maintain your concentration during tasks or even while relaxing. You can set time schedules or locations for your Focus Modes to activate automatically, ensuring that you're never interrupted during designated times.
Additionally, consider customizing your Focus Status, which lets others know when you're busy. This fosters better communication, as people will understand why you might not respond immediately.
Silence Group Messages

If you're overwhelmed by constant group message alerts, you can easily mute them to regain some peace. You can also temporarily disable notifications for specific chats or adjust group settings to manage notifications more efficiently. Let's explore how to keep those group chats from interrupting your day.
Mute Group Chat Alerts
Silencing notifications for group chats can transform your messaging experience, especially when those constant pings become overwhelming. By muting group chat alerts, you can maintain group chat etiquette while ensuring effective communication when it matters most. Here's how to do it:
- Open the Group Chat: Tap on the group chat you want to mute in your Messages app.
- Tap on the Group Name: At the top of the chat, tap on the group name to access settings.
- Select "Hide Alerts": You'll find an option to enable "Hide Alerts." Toggle it on, and you'll no longer receive notifications for that group chat.
Muting alerts doesn't mean you're ignoring the group; it shows respect for your time and attention. You can check the messages at your convenience, ensuring you don't miss important updates while avoiding interruption during your day. Remember, effective communication is about finding balance, so don't hesitate to mute those chat alerts when needed.
Disable Notifications Temporarily
Sometimes, you just need a break from constant notifications, especially during busy days or important meetings. If you're looking to temporarily silence notifications from group messages, it's easy to manage. Here's how you can do it effectively:
| Steps to Disable Notifications Temporarily |
|---|
| Open the Messages app. |
| Select the group chat you want to silence. |
| Tap on the group name at the top. |
| Choose "Hide Alerts" or "Mute." |
By selecting "Hide Alerts," you'll guarantee that you don't receive any disruptive notifications from that group until you're ready to re-engage. This approach allows for efficient notification management without the worry of missing out entirely—your messages will still be waiting for you when you return.
To reactivate notifications, simply follow the same steps and turn off the "Hide Alerts" option. Remember, this is a great way to create a temporary silence around group messages, giving you the space to focus on what truly matters. Enjoy your peace!
Manage Group Settings Efficiently
Managing group settings effectively can help you maintain control over your messaging experience. By silencing group messages, you can navigate the complexities of group dynamics without being overwhelmed by constant notifications. Here are three steps to help you manage group settings efficiently:
- Mute Group Chats: Tap on the group chat, select the group name at the top, then choose "Info." You'll see an option to "Hide Alerts." This way, you won't receive notifications for each message, allowing you to check them at your convenience.
- Adjust Notification Settings: Go to your iPhone's Settings, scroll to "Notifications," and customize how group messages appear. You can change alert styles, sounds, or even disable notifications entirely for specific apps.
- Practice Notification Etiquette: When engaging in group chats, be mindful of how often you message. Keeping the conversation concise helps maintain a positive group dynamic and reduces notification overload for everyone.
Manage Emergency Alerts
Emergency alerts are essential for your safety, so it's important to know how to manage them effectively on your iPhone. These alerts can provide vital information during emergencies, including severe weather warnings, safety threats, and public health announcements. To guarantee you're prepared for any situation, check your alert settings regularly.
To manage your emergency alerts, start by going to the Settings app on your iPhone. Scroll down and tap on "Notifications." Here, you'll find a section for "Government Alerts." This is where you can control the alerts you receive. You'll see options for "Emergency Alerts" and "Public Safety Alerts." Toggle these settings on or off according to your preferences. Remember, while it might be tempting to turn off some alerts, keeping them enabled is a key component of emergency preparedness.
Additionally, if you want to receive alerts specific to your location, make sure that your location services are enabled. Go to Settings, then Privacy, and select Location Services. Make sure it's turned on for apps that may provide relevant alerts.
Turn Off Badge Notifications
Your iPhone's badge notifications can quickly clutter your home screen, making it hard to focus on what matters. These little red dots can be a constant reminder of pending tasks or unread messages, which can be distracting. Luckily, you can customize your badge notifications to suit your needs better. Here's how to turn off badge notifications for specific apps:
- Open Settings: Start by tapping the Settings app on your iPhone.
- Select Notifications: Scroll down and select the "Notifications" option from the list.
- Choose Your App: Find the app you want to adjust badge customization for and tap on it.
Once you're in the app settings, you'll see an option for "Badge App Icon." Toggle this off to disable the badge notifications for that app. This way, you can streamline your notification preferences and minimize distractions.
Frequently Asked Questions
How Do I Temporarily Silence Notifications Without Changing Settings?
You can temporarily silence notifications by activating Do Not Disturb through Quick Settings. Just swipe down from your screen, tap the crescent moon icon, and enjoy uninterrupted time without changing your overall notification settings.
Will My Alarms Still Sound if Notifications Are Silenced?
When you silence notifications, your alarms won't be affected; they'll still sound as intended. Just remember, your alarm settings remain untouched despite any changes to your notification preferences. Stay alert for those important reminders!
Can I Silence Notifications for Specific Contacts?
Yes, you can silence notifications for specific contacts by managing contact preferences. Adjust custom notification settings in your messaging app to mute alerts from chosen contacts without affecting notifications from others. It's simple and effective!
How Can I Restore Notifications After Silencing Them?
If you're worried about missing important alerts, restoring notifications is easy. Just go to your alert management settings, select the apps you silenced, and toggle notifications back on for seamless notification restoration. You'll stay updated!
Does Silencing Notifications Affect My Phone's Battery Life?
Silencing notifications can actually help with battery optimization since your phone won't be constantly lighting up or vibrating. Good notification management reduces unnecessary activity, allowing your battery to last longer throughout the day.
Conclusion
By silencing notifications on your iPhone, you can greatly reduce distractions and regain focus. Did you know that studies show people check their phones an average of 96 times a day? That constant interruption can lead to increased stress and decreased productivity. By taking control of your notifications, you can create a more peaceful environment, allowing you to concentrate on what truly matters. So go ahead, customize those settings and enjoy a more mindful phone experience!


Leave a Reply