Imagine you're at a family gathering and someone shares a memorable moment; capturing that instant is like taking a screenshot on your iPhone. It's a simple yet powerful tool that can help you save important information or unexpected laughs. Depending on your iPhone model, the method varies slightly, and knowing the right combination of buttons is essential. But what if you don't want to rely solely on physical buttons? There are alternatives worth exploring that could streamline the process for you. Let's uncover those options together.
Understanding Screenshots on Iphone
When you want to capture something on your iPhone screen, understanding how screenshots work can make the process much smoother. Screenshots are incredibly useful for saving important information, sharing content with friends, or documenting something you want to remember. The screenshot benefits include preserving images, text, and even interactions that you might find valuable later.
However, it is crucial to reflect on screenshot etiquette, especially when it comes to sharing sensitive information or private conversations. Before sending a screenshot, think about the implications of sharing someone else's messages or personal details. Always respect others' privacy and ask for permission if you're unsure about whether it is appropriate to share a particular screenshot.
Additionally, keep in mind that while screenshots can be a quick way to capture information, they can sometimes lack context. If you're sharing a screenshot, you might want to provide a brief explanation or commentary to help others understand what they're looking at. This way, the recipient can grasp the significance of the screenshot without any confusion.
Using Physical Buttons
To capture a screenshot on your iPhone, you first need to locate the right physical buttons. Once you know where they are, you can easily follow the process to take a screenshot. After capturing, you'll be able to view and edit your image right away.
Locate Physical Buttons
Most iPhone models have a simple combination of buttons that you'll need to locate for taking a screenshot. Depending on your iPhone button layouts, the buttons involved may vary slightly. For newer models, such as the iPhone X and later, you'll be using the Side button and the Volume Up button. On older models, like the iPhone 8 or earlier, the combination consists of the Home button and the Side button.
To prepare for taking a screenshot, first, familiarize yourself with these physical button functions. The Side button, located on the right side of your device, serves multiple purposes such as locking your screen and activating Siri. The Volume Up button, found on the left side, adjusts your device's audio levels.
For models with a Home button, you'll find it directly below the screen. It's crucial to know where these buttons are to capture your screen quickly. Whether you're using an iPhone with Face ID or Touch ID, finding the right buttons will make the screenshot process seamless. Once you know where they are, you're ready to proceed with capturing your screen.
Capture Screenshot Process
Now that you know where the buttons are, capturing a screenshot is straightforward. If you're using an iPhone with Face ID, simply press the Side button and the Volume Up button at the same time. For iPhones with a Home button, you'll need to press the Home button and the Side button simultaneously. You'll see a flash on the screen and hear a shutter sound, confirming the screenshot's taken.
Here are some screenshot tips: Make sure you've got the exact content you want visible on your screen before taking the shot. If you're capturing sensitive information, remember to practice screenshot etiquette—avoid sharing personal details without permission.
Once you've taken your screenshot, it'll briefly appear in the lower-left corner. Tapping on it will allow you to edit or share it immediately. If you don't tap it, it'll automatically save to your Photos app.
Practice these steps a few times, and you'll be a pro at capturing screenshots in no time! Whether for sharing moments or saving important info, mastering this feature can be really handy.
View and Edit
After capturing a screenshot, you'll want to view and edit it with ease. Once you take a screenshot on your iPhone, a thumbnail appears in the bottom left corner. Tap it quickly to open the editing interface. Here, you can crop, draw, or add text to your screenshot. Use the tools at the bottom of the screen to enhance your image as needed.
If you miss the thumbnail, don't worry! You can still access your screenshot later. Just go to your Photos app, and in the Albums tab, locate the "Screenshots" album. This feature helps with screenshot organization, making it simple to find and manage all your screenshots in one place.
After editing, tap "Done" and choose whether to save it to Photos or delete it. Keeping your screenshots organized not only improves accessibility but also saves time when you need to find a specific image later. Remember to regularly check your screenshots and delete any you no longer need to maintain a clutter-free library. With these steps, viewing and editing your screenshots becomes a seamless part of your iPhone experience.
Accessing AssistiveTouch
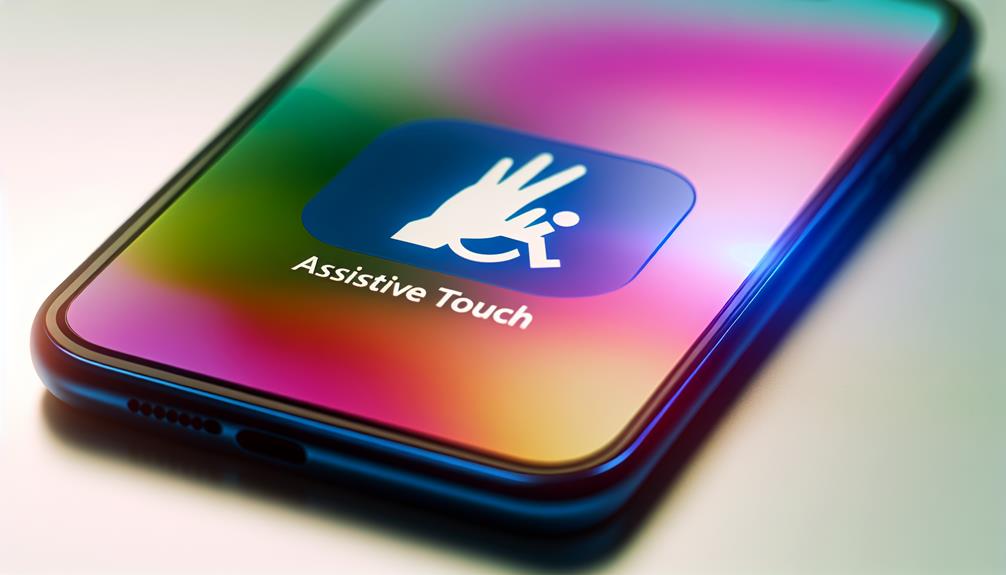
To access AssistiveTouch for taking screenshots on your iPhone, you'll need to navigate through your device's settings. Start by opening the Settings app, then scroll down and tap on "Accessibility." Here, you'll find various Accessibility Features designed to make your device easier to use. Look for "Touch" and tap on it; this will lead you to the Touch Navigation options.
Once you're in the Touch settings, select "AssistiveTouch." You'll see a toggle switch at the top; turn it on. When enabled, a floating button appears on your screen, providing Quick Access to various functions. Tap on this button, and you'll notice a menu that includes options like "Device," "Control Center," and more. To customize this menu, tap on "Customize Top Level Menu." Here, you can add a screenshot option, making it even easier to capture your screen.
You can also create Custom Gestures if you prefer specific actions. For instance, if you want to take a screenshot with a single tap, you can set that up in the Custom Gestures section. This feature is especially helpful for users who may have difficulty using physical buttons.
With AssistiveTouch enabled, you can now take screenshots effortlessly, ensuring that you never miss capturing important moments on your iPhone.
Screenshotting With Siri
If you prefer using voice commands, screenshotting with Siri is a convenient option. You can easily activate Siri and use specific voice commands to capture your screen. Once you've taken a screenshot, accessing it is just a tap away in your Photos app.
Activating Siri for Screenshots
While you might prefer taking screenshots manually, using Siri can offer a hands-free alternative that's both quick and efficient. To start using Siri for screenshots, you'll first need to verify that your Siri settings are properly configured. Go to your iPhone's Settings, then tap on "Siri & Search." Here, you can enable voice activation by selecting "Listen for 'Hey Siri'." This feature allows you to activate Siri without pressing any buttons.
Once you've set up voice activation, you can simply say, "Hey Siri, take a screenshot." Siri will capture the screen for you, making it particularly useful when your hands are busy or when you want to quickly save something without interrupting your workflow.
Keep in mind that you'll need to have Siri enabled for this to work. If you haven't used Siri before, you might want to familiarize yourself with its capabilities to maximize its usefulness. With the right Siri settings in place, taking screenshots becomes an effortless task, allowing you to focus on what's important while still capturing memorable moments on your iPhone.
Voice Commands to Use
Three simple voice commands can help you capture screenshots effortlessly with Siri. If you want to go hands free, simply activate Siri and say, "Take a screenshot." This command uses voice recognition to trigger the screenshot function without needing to touch your device.
You can also say, "Snap a photo of my screen" or "Capture my display." All these phrases work effectively, allowing you to take screenshots without the hassle of button combinations. Make sure your device is awake and Siri is listening for best results.
Keep in mind, you might need to enable "Hey Siri" in your settings for hands-free functionality. This way, you can initiate the command whenever you need it, without having to press any buttons.
Using these voice commands can streamline your screenshotting process, especially if you're multitasking or unable to use your hands. Just remember, clarity in your speech will enhance Siri's voice recognition accuracy, ensuring that your screenshots are captured when you want them. With these commands, you'll find taking screenshots easier than ever.
Accessing Captured Screenshots
After capturing your screenshots using Siri, accessing them is straightforward. You can find your captured images in the Photos app, but it's important to know how to efficiently organize and manage them for better screenshot privacy. Here's how you can access and organize your screenshots:
- Open the Photos app: Locate the app on your home screen and tap to open it.
- Go to Albums: At the bottom of the screen, tap on the "Albums" tab to view different categories.
- Select Screenshots: Scroll down and find the "Screenshots" album, which automatically collects all your captured images.
- Manage Your Screenshots: Here, you can rename, delete, or share your screenshots. For better screenshot organization, consider creating folders for different categories.
Editing Screenshots
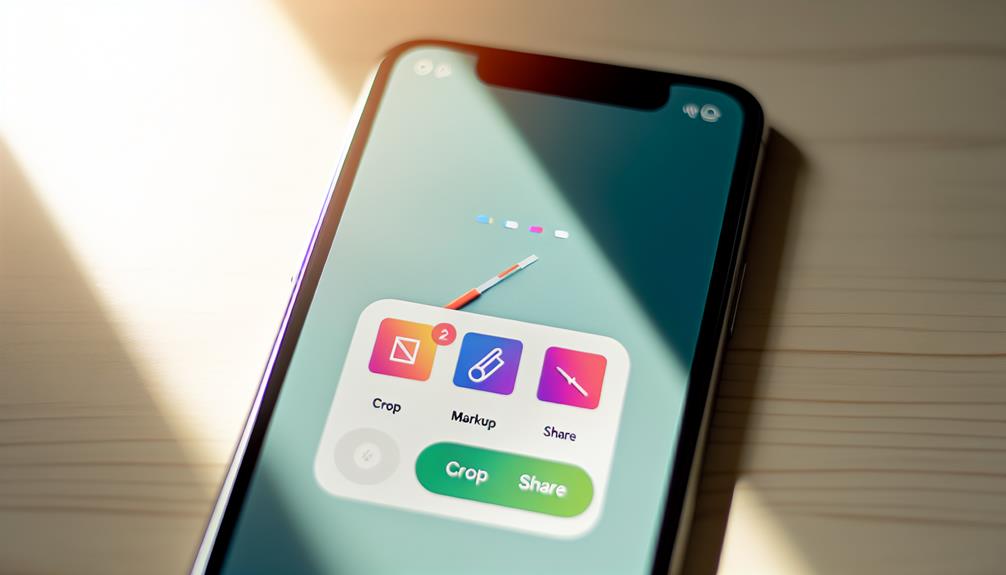
Once you've captured your screenshot on an iPhone, the next step is editing it to highlight key information or personalize it. iPhones offer built-in screenshot tools that make this process straightforward and efficient. After taking a screenshot, a thumbnail appears in the bottom corner of your screen. Tap on it to access the editing interface.
In this editing space, you'll find various options to enhance your screenshot. You can crop the image to focus on specific areas, which is especially useful if you want to eliminate unnecessary parts. Additionally, you can use image annotations to add text, shapes, or arrows. This is perfect for drawing attention to particular details or providing context.
The toolbar at the bottom of the screen presents several tools. The pen tool allows you to write or draw directly on the screenshot, while the highlighter helps emphasize important text. You can also choose different colors for your annotations to make them stand out more. If you prefer, you can insert a rectangle or circle to highlight specific information or add a signature for a personal touch.
Once you're satisfied with your edits, you can easily save your changes. Remember, editing your screenshots not only enhances their clarity but also makes them more engaging for anyone who views them. So, experiment with these screenshot tools to create visually appealing and informative images!
Saving and Sharing
When you're ready to save and share your edited screenshot, the process is quick and simple. After making your edits, you'll see options to save or share right on the screen. Here's how to do it effectively while keeping your screenshot organization in mind:
- Tap 'Done': Once you're satisfied with your edits, click the 'Done' button in the top left corner. You'll have the option to save it to Photos or delete it if needed.
- Choose 'Save to Photos': This option allows you to store your screenshot in your Photos app, ensuring easy access later. It helps with screenshot storage, so you can keep track of all your captures.
- Share directly: If you want to share immediately, click on the share icon (a square with an upward arrow). From there, you can choose how you'd like to share your screenshot—via Messages, Mail, or social media platforms.
- Organize your screenshots: To keep your screenshots organized, consider creating albums in your Photos app. You can categorize them by topic, such as work-related or personal, making it easier to find specific images later.
Troubleshooting Screenshot Issues
Screenshots are a handy tool, but sometimes they don't work as expected. If you're facing issues, it's good to start by identifying common problems. First, check your device compatibility; older iPhone models might have different screenshot methods. Verify your software is updated, as outdated versions can lead to glitches.
Next, storage issues can prevent screenshots from saving. If your device is low on space, try deleting unused apps or photos to free up storage. You might also want to explore alternative methods to take screenshots, like using the AssistiveTouch accessibility feature if your buttons aren't responsive.
If your screenshots appear blurry, it could be a screen resolution issue, especially when capturing content from certain apps. Some apps may have restrictions that prevent screenshots entirely, so check if the app you're using has any limitations.
Another thing to take into account is your device settings. Make sure user permissions are set correctly, especially if you're using third-party apps. If you're still having trouble, try restarting your device, as this can resolve temporary glitches.
Lastly, don't forget that you can always reach out to Apple Support for assistance. They can provide guidance specific to your issue, verifying you can make the most of this useful feature on your iPhone. By following these troubleshooting steps, you should be able to resolve most screenshot issues efficiently.
Frequently Asked Questions
Can I Screenshot While Using Third-Party Apps?
You can usually screenshot while using third-party apps, but there might be screenshot limitations due to app restrictions. Always check the app's compatibility, as some apps may prevent taking screenshots for privacy reasons.
Will Screenshots Capture Notification Previews?
Screenshots sometimes show sensitive snippets, so be cautious! If you've got notification privacy settings enabled, message visibility might be limited. Always double-check what's displayed before sharing any screen captures to protect your information.
How Do I Find My Screenshots?
To find your screenshots, check the Photos app under the Albums tab. They're usually in the "Screenshots" album. You can organize them further or edit them using built-in tools for a personalized touch.
Are Screenshots Stored in Icloud?
When you capture those precious moments, they're saved in your device's gallery. However, if you've got iCloud storage enabled, your screenshots might just find a cozy home there, ensuring your screenshot privacy remains intact.
Can I Set a Shortcut for Screenshots?
Yes, you can set a shortcut for screenshots. In your screenshot settings, explore the shortcut options to customize how you capture images. This makes it quicker and easier to take screenshots whenever you need them.
Conclusion
To sum up, taking a screenshot on your iPhone is a quick and easy process, whether you use physical buttons, AssistiveTouch, or Siri. For example, imagine you're chatting with a friend and want to share a funny meme. With just a couple of button presses, you can capture it instantly and send it their way. Now that you know how to screenshot, you can save and share those memorable moments effortlessly!




Leave a Reply