Disabling Find My iPhone is almost as challenging as solving a Rubik's Cube blindfolded. But don't worry, you won't need to call in a tech expert just yet. You can easily navigate through your device settings to turn off this feature, but there are a few essential steps to keep in mind if you plan on selling or giving away your iPhone. Understanding these steps can save you from potential headaches, so stick around to uncover the straightforward process that guarantees your device is ready for its next chapter.
Understanding Find My Iphone
Find My iPhone is a built-in feature on Apple devices that helps you locate your iPhone if it's lost or stolen. It utilizes iCloud security to guarantee that your device tracking remains secure and effective. When you enable this feature, you gain access to remote features that allow for device management, such as locating your phone on a map or remotely locking it to protect your data.
Understanding how Find My iPhone works can alleviate privacy concerns. The service requires user permissions to access your location, guaranteeing that you have control over who can track your device. With location accuracy, you can pinpoint your iPhone's whereabouts, making it easier to recover your device.
In addition to tracking, Find My iPhone offers backup solutions that bolster your data protection. If your device is lost, you can remotely erase your personal information, safeguarding your privacy. This capability also plays a significant role in account recovery, allowing you to regain access to your Apple ID and other linked accounts.
Preparing Your Device
Before you disable Find My iPhone, it's vital to prepare your device properly. Taking the right steps guarantees your device security and user privacy remain intact. Here's what you should do to get ready:
- Backup your data: Make sure all your important files and settings are stored safely. An iCloud or iTunes backup can save your data in case something goes wrong.
- Update your software: Keeping your device updated guarantees you have the latest security patches and features, enhancing your account safety.
- Review your recovery options: Familiarize yourself with alternative tracking methods and parental controls to guarantee you can locate your device if needed.
As you prepare, remember that device management is essential. By backing up your data and updating your software, you're not just safeguarding your information; you're also making it easier to recover your device if it's lost. Stay aware of your account safety; removing Find My iPhone means you'll need to have a solid plan in place for tracking your device should it go missing.
User awareness is key here. Understand the implications of disabling this feature, especially if you depend on it for device recovery. Taking these preparatory steps will help you feel confident in managing your device and maintaining your privacy, even after you disable Find My iPhone.
Disabling via Settings

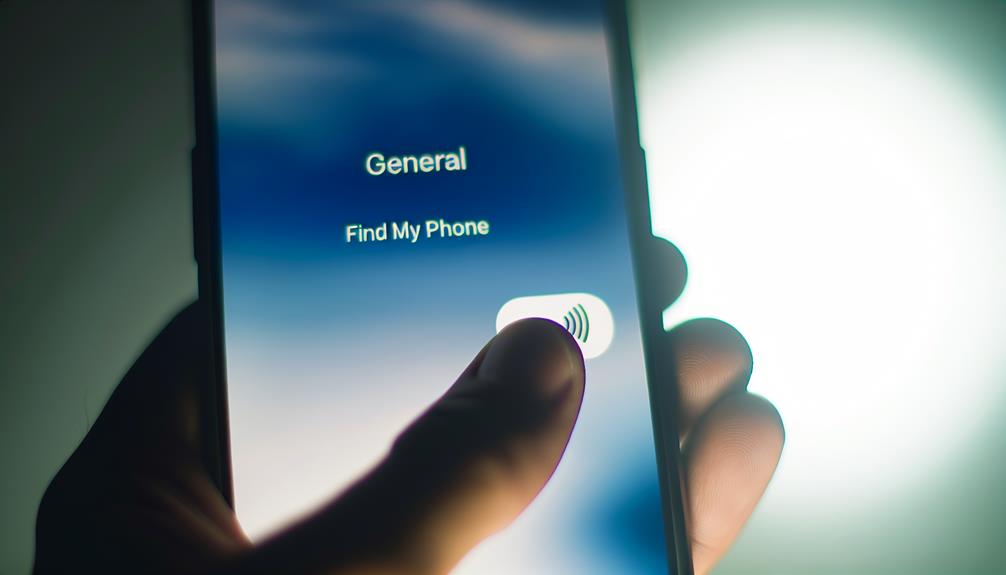
To disable Find My iPhone through settings, you'll need to access your iCloud settings first. Once there, you can toggle off Location Services for your device. This will guarantee that Find My iPhone is no longer active.
Accessing Icloud Settings
Accessing your iCloud settings is a straightforward process that allows you to disable Find My iPhone quickly. By maneuvering through these settings, you can enhance your account management while ensuring your data privacy is prioritized. Here's how you can do it:
- Open the Settings app on your device.
- Tap on your name at the top to access your iCloud settings.
- Scroll down to Find My iPhone and tap on it.
In this section, you'll see options related to device tracking and iCloud security. Disabling Find My iPhone can affect your backup options, so consider this if you rely on Apple support for retrieving lost data. You might receive user notifications about this change, which will serve as a reminder of the implications on your sync settings.
Remember that disabling this feature means you won't be able to locate your device easily if it gets lost. Always weigh the pros and cons of disabling such features, as they play a critical role in your device's overall security. If you encounter difficulties, refer to Apple support for assistance.
Turning Off Location Services
When you're ready to enhance your privacy, turning off Location Services on your device can be an effective step. This feature often raises privacy concerns, as it allows for location tracking and can expose your data access to various apps. By managing your security settings, you can limit user permissions and protect your personal information.
Here's how to turn off Location Services:
| Step | Action | Notes |
|---|---|---|
| 1 | Open Settings | Look for the gear icon |
| 2 | Tap on Privacy | Access privacy controls |
| 3 | Select Location Services | Toggle off to disable |
Disabling Location Services will stop apps from using your location, providing peace of mind regarding your whereabouts. It's important to regularly check your device management settings to verify your privacy is maintained. While you might lose some app functionality, the trade-off for enhanced privacy is often worth it. Remember, you can always re-enable Location Services if needed.
Logging Out of Icloud
Logging out of iCloud is an important step in disabling Find My iPhone, especially if you're planning to sell or give away your device. By doing this, you guarantee that your iCloud security isn't compromised and that your Apple account remains protected. Here's how you can log out of iCloud quickly and efficiently.
First, you'll want to navigate to your device's settings. Once you're there, follow these steps:
- Tap on your name at the top of the screen to access your Apple ID settings.
- Scroll down and select "Sign Out." You may need to enter your Apple ID password for verification.
- Choose whether to keep a copy of your data on the device or remove it.
Once you've completed these steps, your device will be signed out of your iCloud account. This action not only disables Find My iPhone but also guarantees that your personal information is no longer linked to the device. Remember, logging out of iCloud is vital to maintain your privacy and security.
Removing Device From Apple ID

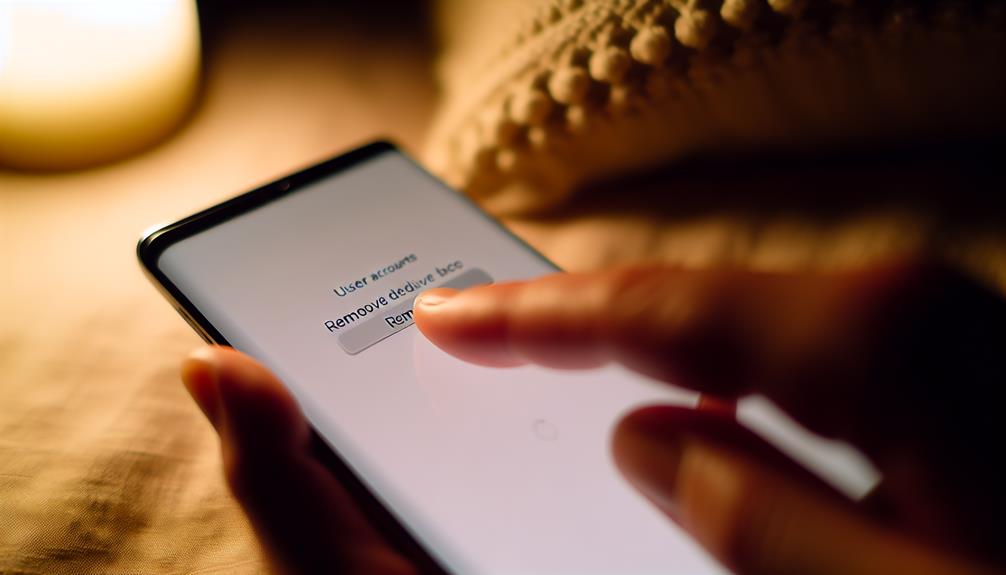
To remove a device from your Apple ID, you'll first need to access your Apple ID settings. Once there, select the device you want to remove and follow the prompts to confirm the removal process. This guarantees your device is no longer linked to your Apple ID.
Accessing Apple ID Settings
Accessing your Apple ID settings is important for removing a device from your account and disabling Find My iPhone. This process enhances your Apple ID security and guarantees that your account recovery options remain intact. Here's how to get started:
- Open the Settings app on your device.
- Tap on your name at the top of the screen to access your Apple ID settings.
- Select "Find My" to manage your devices and settings.
Once you're in your Apple ID settings, you can see all devices linked to your account. It's essential to keep your information updated, as this helps maintain strong Apple ID security. If you ever need to recover your account, having accurate details is crucial.
Make sure you're connected to Wi-Fi or mobile data while accessing these settings, as this guarantees you have the latest information. By following these steps, you'll be well on your way to managing your devices effectively and confidently. Remember, keeping your Apple ID secure is key to protecting your personal data and simplifying account recovery when needed.
Selecting Device to Remove
When you're ready to remove a device from your Apple ID, it's vital to select the correct one from your list. Your Apple ID can be linked to multiple devices, so you'll want to guarantee you're choosing the right one for removal. Start by accessing your Apple ID settings, where you'll see all devices associated with your account.
Take a moment to review the device selection carefully. Each device will display its name, and you can usually identify it based on the model or the name you've assigned. If you're unsure, consider checking the device itself for confirmation.
Once you've identified the device you want to remove, look for the removal options available. Depending on the version of iOS or macOS you're using, the process may vary slightly, but the goal remains the same: to efficiently remove the selected device from your Apple ID.
Double-check that you've selected the correct device before proceeding, as this step is imperative to avoid any accidental removals. After confirming your choice, you'll be ready to move on to the next steps in the removal process.
Confirming Removal Process
After selecting the device you want to remove, it's important to confirm the removal process to guarantee everything goes smoothly. This step is significant for ensuring your device security and finalizing the unlinking from your Apple ID. Here's what you need to do for a successful removal confirmation:
- Review your Apple ID settings: Double-check that you're logged into the correct account and that the device is listed as being linked.
- Look for a confirmation prompt: After initiating the removal, a prompt should appear asking you to confirm your choice. It's critical to read this carefully.
- Complete the process: Once you confirm, the device will be removed from your account. You should see a message indicating that the removal was successful.
Confirming Deactivation
To confirm that you've successfully disabled Find My iPhone, you can check a few key indicators. First, go back to the Settings app and tap on your Apple ID at the top of the screen. If Find My iPhone is truly disabled, you won't see it listed under your device settings anymore. Instead, you should see a confirmation that it's turned off, which indicates that your device security is intact.
Next, you can also check your iCloud account. Log in to iCloud.com and navigate to the "Find iPhone" section. If your device no longer appears there, it means the service has been successfully deactivated. This step is essential for maintaining your user privacy, as it guarantees that no one can track your device anymore.
Additionally, you might receive a confirmation email from Apple notifying you that Find My iPhone has been turned off. Keep an eye on your inbox; this serves as another layer of assurance regarding your device's status.
Troubleshooting Common Issues

Disabling Find My iPhone can sometimes lead to unexpected issues, particularly if you're not logged into the correct Apple ID or if your device has connectivity problems. It's crucial to address these challenges to guarantee your device security and privacy concerns are managed effectively. Here are some common troubleshooting steps you can take:
- Check Account Settings: Confirm you're logged into the correct Apple ID associated with your device. Sometimes, using the wrong account can activate the activation lock.
- Software Updates: Verify that your device is running the latest software. Outdated software can cause glitches during the deactivation process.
- User Permissions: Ensure that you have the necessary permissions to disable the feature. If you're sharing your Apple ID, another user might have restrictions in place.
If you still encounter issues, consider account recovery options to regain access to your settings. In some cases, you may need to reach out to tech support for assistance. They can guide you through the process of device management and help resolve any lingering activation lock problems.
Frequently Asked Questions
Will Disabling Find My Iphone Affect My Warranty?
Disabling Find My iPhone doesn't directly affect your warranty implications, but it may lead to feature limitations. It's essential to keep it enabled for security and tracking purposes, ensuring your device's protection and functionality.
Can I Disable Find My Iphone Remotely?
Imagine a castle's drawbridge; once it's up, you can't lower it from afar. Similarly, you can't disable Find My iPhone remotely. You'll need to access your iCloud settings directly for device security adjustments.
What Happens to My Data After Deactivation?
When you deactivate the service, your data privacy improves, as location tracking ceases. However, previous data may still exist on Apple's servers for a while, depending on their policies and your device settings.
Is It Possible to Re-Enable Find My Iphone Later?
Yes, you can re-enable Find My iPhone later. The re-enabling process is straightforward, ensuring your privacy concerns are addressed. Just go to settings, sign in, and toggle the feature back on whenever you need.
Do I Need Internet Access to Disable This Feature?
You don't need internet access to change your iCloud settings, but being connected enhances your device security. It's always wise to guarantee everything's in order before making adjustments, just to keep your device safe.
Conclusion
Disabling Find My iPhone is essential when selling or giving away your device to protect your personal information. Remember, about 50% of people don't realize that failing to turn off this feature can lock the next owner out of the device. By following these steps—disabling it in settings, logging out of iCloud, and removing the device from your Apple ID—you guarantee a smooth changeover. Take these precautions to safeguard both your data and the next user's experience.


Leave a Reply