Connecting AirPods to your iPhone is as easy as pie—if pie were a complex puzzle. You might think it's just a matter of opening the case, but there are a few key steps you need to follow to guarantee a smooth connection. From checking your AirPods model to making certain your iPhone is prepared, each step matters. Curious about what those steps entail and how to troubleshoot if things don't go as planned? Let's explore the process together.
Check Your AirPods Model
Before diving into the connection process, it's vital to check your AirPods model. Knowing which model you have will help guarantee that you understand their features and compatibility with your iPhone. Apple has released several versions of AirPods, including the original AirPods, AirPods 2, AirPods Pro, and AirPods Max. Each model comes with unique features that may affect how you connect and use them.
To find your AirPods model, look at the serial number on the inside of the charging case lid, or refer to the original packaging. Alternatively, if you have them connected to another device, you can check the Bluetooth settings to identify the model. Familiarizing yourself with your specific AirPods features will enhance your experience. For instance, AirPods Pro offers noise cancellation, while the standard AirPods focus on simplicity and ease of use.
Moreover, understanding AirPods compatibility is essential. Most iPhones from the iPhone 5 and newer will work seamlessly with any AirPods model. However, older devices may not support some advanced features, such as spatial audio or automatic switching. So, it's a good idea to guarantee that your iPhone is updated to the latest iOS version to maximize compatibility.
Taking these steps to identify your AirPods model and understanding their features will set you up for a smooth connection process, making your listening experience even more enjoyable.
Prepare Your Iphone
Now that you've checked your AirPods model, it's time to prepare your iPhone for the connection. You'll want to make sure that your iPhone is ready for Bluetooth pairing. Here's a simple guide to help you navigate through the necessary iPhone settings.
First, make certain your iPhone is updated to the latest iOS version. This guarantees compatibility with your AirPods. Next, you'll need to access the Bluetooth options in your iPhone settings. Just follow the steps below:
| Step | Action |
|---|---|
| 1. Open Settings | Tap on the Settings app on your home screen. |
| 2. Select Bluetooth | Scroll down and tap on "Bluetooth." |
| 3. Toggle Bluetooth | Make sure Bluetooth is turned on (the switch should be green). |
Once you've done this, your iPhone will start searching for nearby Bluetooth devices. Remember to keep your AirPods nearby, as they need to be within range for the connection to happen smoothly.
If you don't see your AirPods listed, don't worry just yet. This step is all about making certain your iPhone settings are primed for the connection. Once everything's set up, you'll be ready to open the AirPods case and complete the pairing process. With the right iPhone settings in place, connecting your AirPods will be a breeze!
Open the AirPods Case
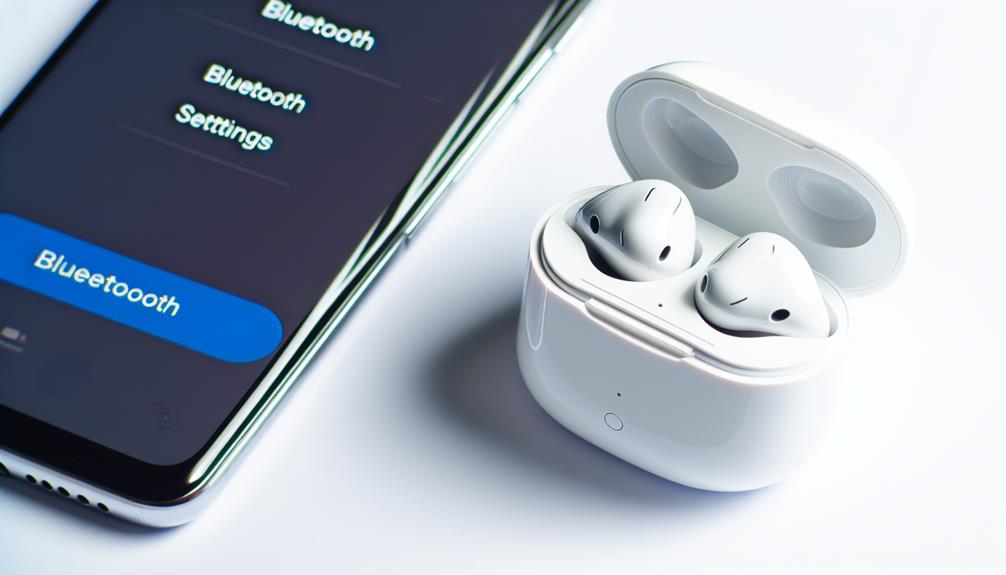
To successfully connect your AirPods to your iPhone, you'll need to open the AirPods case. This step is vital, as it activates the AirPods' functionality and prepares them for pairing. First, make certain your AirPods are charged. If they're low on battery, place them in the charging case for a few minutes before proceeding.
Once you're certain they have enough charge, hold the case in your hand. Open the lid without removing the AirPods. You'll notice a small LED light on the front or inside the case, depending on your model. This light indicates the status of the AirPods. If it's white, your AirPods are ready to connect. If it's amber, it might mean they're not fully charged or are experiencing issues.
Leaving the AirPods in the case, verify they're snugly seated on their charging ports. This connection assures they're receiving power and won't run out during your listening session.
With the case open, your AirPods are now in pairing mode. You'll be ready to link them to your iPhone seamlessly. Remember, keeping your AirPods charged is essential to maintain peak functionality, guaranteeing they're always ready for use whenever you need them.
Enable Bluetooth on Iphone
To connect your AirPods, you first need to enable Bluetooth on your iPhone. Simply access the Settings menu and look for the Bluetooth option. Once you find it, just toggle the switch to turn it on, and you're ready to go!
Access Settings Menu
Enabling Bluetooth on your iPhone is vital for connecting your AirPods seamlessly. To do this, you'll need to access the Settings menu. Once you've located the Settings app, you can quickly check your Bluetooth settings, ensuring your device is ready to pair with your AirPods.
Here's a quick overview of the steps:
| Step | Description |
|---|---|
| Open Settings | Tap the Settings app on your home screen. |
| Find Bluetooth | Scroll down and select Bluetooth. |
| Check Compatibility | Verify your iPhone supports AirPods features. |
| Enable Bluetooth | Make sure Bluetooth is turned on. |
This process is important because Bluetooth compatibility allows your iPhone to communicate with your AirPods, enabling features like automatic ear detection and seamless switching between devices. Once Bluetooth is enabled, you can proceed to connect your AirPods for an uninterrupted audio experience. Remember, without this step, your AirPods won't connect, and you'll miss out on their impressive sound quality and versatility. So, take a moment to access the Settings menu and get ready to enjoy your favorite tunes!
Toggle Bluetooth Switch
How do you make sure your AirPods connect smoothly to your iPhone? The first step is to toggle the Bluetooth switch on your device. Bluetooth connectivity is essential for pairing your AirPods, so let's make certain it's enabled. Start by opening your iPhone's Settings app. You'll see the Bluetooth option listed; tap on it. If the toggle is gray, that means Bluetooth is off. Simply tap the switch to turn it green—this indicates Bluetooth is now active.
Once Bluetooth is enabled, your iPhone will automatically start searching for nearby devices, including your AirPods. You can take advantage of various AirPods features, such as automatic ear detection and seamless switching between devices, but only if Bluetooth is on. If your AirPods don't appear immediately, give it a moment; sometimes it takes a few seconds to recognize.
Pairing the AirPods
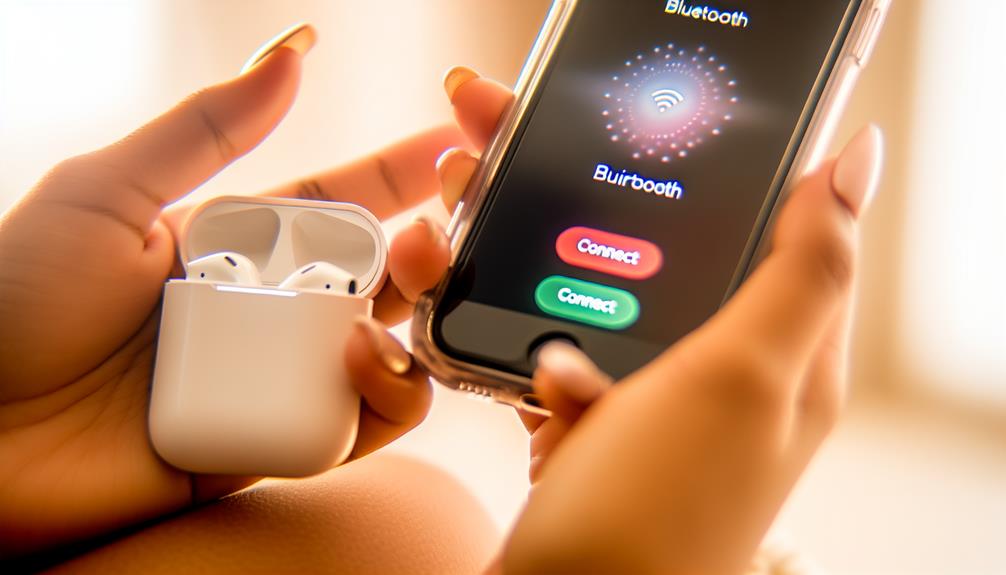
Pairing your AirPods with your iPhone is a straightforward process that can enhance your listening experience. First, take your AirPods out of their charging case. As you do this, make certain they're charged and within close proximity to your iPhone. Your AirPods will automatically enter pairing mode when you remove them from the case, making it easy to connect.
Next, access your iPhone and verify Bluetooth is turned on. If you've followed the earlier steps and toggled the Bluetooth switch, you're good to go. Now, a pop-up should appear on your iPhone's screen, showing your AirPods. Tap "Connect," and your AirPods will be paired with your device.
Once connected, you can take advantage of several AirPods features, such as automatic ear detection, which pauses playback when you remove an AirPod. This seamless integration is made possible by the excellent Bluetooth compatibility of the AirPods, guaranteeing a stable connection for your audio needs.
If you own AirPods Pro or AirPods Max, you'll also enjoy features like Active Noise Cancellation and spatial audio, enhancing your listening experience even further. Remember, you can always manage your AirPods settings through the Bluetooth menu on your iPhone, allowing you to customize how you use them.
Now that you've paired your AirPods, you're ready to enjoy your favorite music, podcasts, or calls without any hassle.
Testing the Connection
Once your AirPods are paired, it's important to test the connection to confirm everything's working smoothly. To do this, simply place your AirPods in your ears and start playing a song or a podcast on your iPhone. Pay close attention to the audio quality. You should hear clear sound without any distortion or interruptions. If the audio is choppy or doesn't play at all, it could indicate an issue with connection stability.
Next, try moving around while listening. This will help you assess whether the connection remains strong as you change locations. For instance, if you walk into another room or move away from your iPhone, listen for any dropouts. A solid connection means you should still hear audio without any significant lag or disconnection.
You can also test the connection by making a phone call. This will allow you to check not only the audio quality but also how well your voice transmits through the AirPods. Ask the person on the other end if they can hear you clearly. If they mention any issues, it might be worth checking the connection again.
Lastly, consider using features like Siri or voice commands while your AirPods are connected. If Siri responds promptly and accurately, it's a good sign that your connection is stable. Testing these aspects guarantees you're set for an ideal listening experience with your AirPods. Enjoy your music or calls without worrying about any connectivity issues!
Troubleshooting Common Issues
Many users encounter common issues when using AirPods with their iPhone, but you can often resolve these problems with a few simple steps. Here's a quick guide to help you troubleshoot:
- Battery Life: If your AirPods aren't working, check their battery level. Low battery can lead to poor audio quality or connection issues. Make sure they're charged and stored in their case.
- Connection Range: If you notice frequent dropouts, verify you're within the recommended connection range. Walls and other electronic devices can interfere with the Bluetooth signal, so try to eliminate potential obstructions.
- Device Compatibility and Software Updates: Make sure your iPhone is running the latest software. Outdated firmware can affect connection and audio quality. Check for updates in your Settings under General > Software Update.
If you're still having problems, consider performing a reset procedure. To do this, place your AirPods in the case, hold the setup button on the back until the LED light flashes amber, then white. This can resolve persistent issues and can be particularly useful for charging issues.
Frequently Asked Questions
Can I Connect Airpods to Non-Apple Devices?
Yes, you can connect AirPods to non-Apple devices. They're compatible with any Bluetooth-enabled device. Just enable Bluetooth pairing on your device, and select your AirPods to enjoy seamless audio, regardless of brand.
Do Airpods Work With Android Phones?
Yes, AirPods are compatible with Android phones. You can enjoy Android audio with them, but some features may be limited compared to using them with Apple devices. Pairing is straightforward, just like with other Bluetooth headphones.
How Do I Reset My Airpods?
When your AirPods feel like a tangled web, reset 'em by pressing and holding the setup button on the case until the light flashes amber. This trick can solve many AirPods troubleshooting and pairing woes!
Can I Use One Airpod at a Time?
Yes, you can use one AirPod at a time. Just take out a single earbud, and it'll connect automatically. This allows for convenient AirPod usage, especially if you prefer listening with a single earbud.
What Is the Battery Life of Airpods?
AirPods typically offer about five hours of listening time on a single charge. With proper AirPods maintenance, including regular charging, you can extend their lifespan and enjoy up to 24 hours with the charging case.
Conclusion
Now you're all set to enjoy your AirPods with your iPhone! Did you know that as of 2023, Apple has sold over 100 million AirPods worldwide? That's a demonstration of their popularity and seamless integration with Apple devices. If you run into any issues, don't hesitate to revisit the pairing steps or check your Bluetooth settings. Happy listening!



Leave a Reply