When you're ready to switch from Android to iPhone, it's important to approach the process methodically. You'll want to guarantee all your essential data is backed up and compatible before making the shift. The "Move to iOS" app can simplify this for you, but there are nuances to take into account that could affect your experience. With proper preparation, you can streamline the transfer and make the most of your new device. But what happens after you've moved your data? The next steps could greatly enhance your iPhone experience.
Preparing for the Switch
Before you plunge into the process of switching from Android to iPhone, it's essential to take a few preparatory steps to guarantee a smooth changeover. First, consider data compatibility; not all files transfer seamlessly between the two platforms. Check what you need to move, like contacts, photos, and documents, ensuring they're supported on iOS.
Next, familiarize yourself with app differences. Some apps you love on Android may not be available or may function differently on iPhone. Review your most-used apps and look for iOS alternatives or check if they're available in the App Store.
You'll also want to get acquainted with the user interface. iOS has a distinct layout and functionality that differs from Android. Spend some time exploring online resources or tutorials to navigate this new environment effectively.
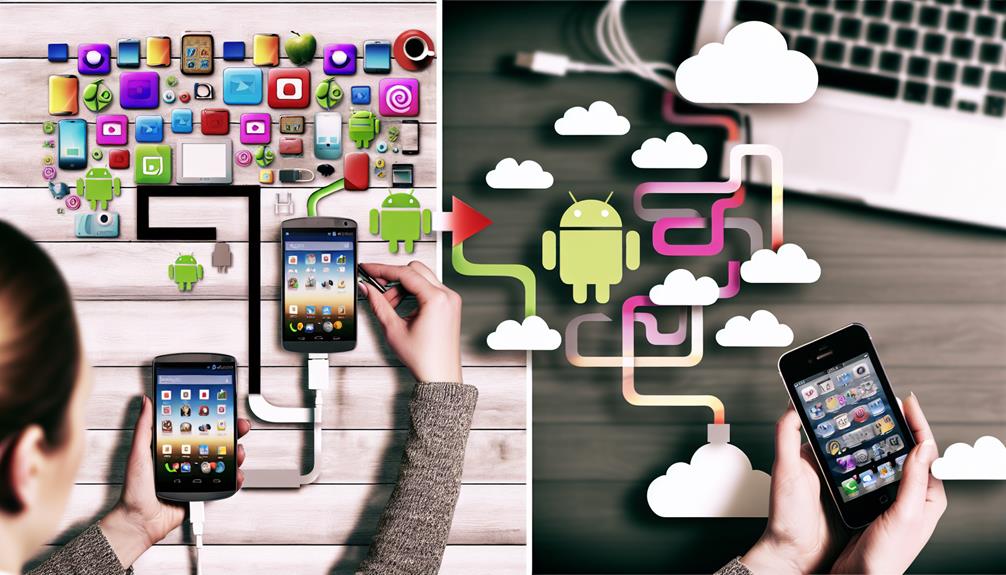
Cloud services can ease this essential process. If you're already using Google Drive or Dropbox, these services work well on iPhone, allowing you to manage files without hassle. Assess your storage options, too; iPhones come with various internal storage capacities, so choose one that fits your needs.
Backing Up Your Data
Backing up your data is an essential step in the shift from Android to iPhone. Before you immerse yourself in the change, you'll want to guarantee all your important information is securely stored. Start by exploring various backup solutions available for Android devices. Many users prefer cloud services like Google Drive or Dropbox, which provide convenient data storage without occupying space on your device.
When backing up, consider the different file formats you might be dealing with. Confirm that your photos, videos, contacts, and documents are saved correctly and are easily transferable to your new iPhone. Check for data transfer compatibility between the two systems; some formats may not automatically carry over, so it's wise to convert them as needed.
Data security is a priority, especially when dealing with personal information. Always use reputable cloud services that prioritize privacy concerns and offer encryption. Additionally, remember to back up your app settings to avoid losing any customized configurations.
Once your data is safely backed up, focus on data management. Organize your files efficiently, so when you switch to your iPhone, you can easily locate everything. Explore different storage options provided by Apple, like iCloud, once you've made the switch, to guarantee ongoing safety and accessibility of your data.
Using Move to Ios App
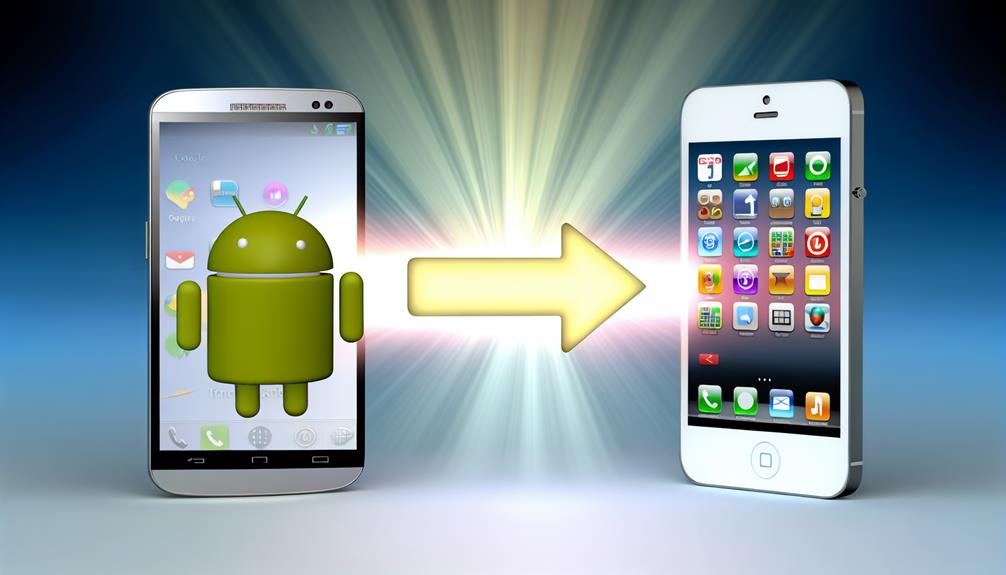
Now that you've backed up your data, it's time to make the actual move to your new iPhone. The Move to iOS app is designed to help you transfer your most important content seamlessly from your Android device. This app guarantees data security throughout the process, so you can feel confident your information is safe.
To get started, follow these steps:
- Download the Move to iOS app on your Android device.
- Turn on your new iPhone and select "Move Data from Android" during the setup.
- Open the Move to iOS app on your Android and follow the prompts.
- Enter the code displayed on your iPhone into your Android device.
- Choose the data you want to transfer, such as contacts, messages, photos, and more.
One of the key advantages of using the Move to iOS app is its compatibility with various data types. It can effortlessly move your contacts, message history, photos, videos, web bookmarks, mail accounts, and calendars. However, keep in mind that some apps may not transfer over due to app compatibility issues. You'll need to download the iOS versions of those apps from the App Store.
Transferring Contacts and Calendars
Transferring your contacts and calendars from Android to iPhone is a crucial step in ensuring you stay organized and connected. You'll want to make sure all your important data is easily accessible on your new device. Here's a simple breakdown of the process:
| Step | Action |
|---|---|
| Export Contacts | Use your Android settings to export contacts in a compatible format. |
| Import to iPhone | Use iCloud or a third-party app to import your contacts. |
| Sync Calendars | Sync your events using Google Calendar or another cloud service. |
First, you'll need to export your contacts. Most Android devices allow you to do this through the settings, usually saving them as a .vcf file. Once exported, you can import these contacts into your iPhone via iCloud or by using third-party apps designed for syncing contacts. Be sure to check for managing duplicates during the import process to keep your address book neat.
For calendars, if you're using Google Calendar, simply add your Google account to your iPhone. This allows you to import calendars and keep syncing reminders and organizing events easily. If you have other calendar formats, consider using cloud services that support calendar sync, ensuring all your data is up to date and accessible.
With these steps, you'll have a seamless conversion, keeping your important contacts and calendars intact on your new iPhone.
Migrating Your Apps
How can you confirm your favorite apps make the shift from Android to iPhone? Migrating your apps isn't always straightforward, especially when you consider potential app compatibility issues. While many popular apps are available on both platforms, some may not be, or they might offer different features on iOS. Here's how to make the transition smoother:
- Check App Availability: Before switching, look for your essential apps in the App Store to see if they're available on iOS.
- Review App Data Migration Options: Some apps allow you to back up your data before switching. Check the app's settings for any data export features.
- Use iOS Alternatives: If your favorite app isn't available on iPhone, search for similar apps that offer comparable features.
- Keep Your Logins Handy: Confirm you have your login details for all apps, which will help you set them up quickly on your new device.
- Contact App Support: If you encounter issues with app data migration, reach out to the app's support team for guidance.
Once you've verified app compatibility, you can begin downloading them on your new iPhone. While some app data might not transfer seamlessly due to differences in operating systems, following these steps can help minimize disruption. Remember, the key is preparation; knowing what to expect can save you time and frustration as you make the switch.
Setting up Your New Iphone
Now that you've migrated your apps, it's time to set up your new iPhone. Start by charging your device to guarantee it's ready for a seamless data transfer. Once that's done, you can customize your settings to make your iPhone truly yours.
Charge Your New Device
Before diving into the setup process, it's essential to give your new iPhone a good charge. Confirming your device is fully powered will help you avoid interruptions while exploring its features. Let's make certain you have the right charging accessories on hand and understand some battery management tips.
Here are a few things to keep in mind:
- Use the included charger: Always use the charger that comes with your iPhone for ideal charging efficiency.
- Avoid third-party cables: Stick to Apple-certified cables to prevent potential damage to your device.
- Charge overnight: If you have a busy day ahead, charging overnight can confirm you start with a full battery.
- Enable Low Power Mode: This feature helps you manage battery life effectively when you're running low.
- Keep it cool: Avoid charging your device in extreme temperatures for better battery health.
Transfer Data Seamlessly
With your iPhone charged and ready to go, it's time to set it up and transfer your data from your Android device. Start by downloading the "Move to iOS" app on your Android. This app simplifies the process by ensuring data compatibility between both devices. Once you initiate the transfer, just follow the on-screen instructions. You'll be able to move your contacts, message history, photos, and more.
Keep in mind that not all apps will transfer seamlessly. Some Android apps may not be available on iOS, so you'll need to find app alternatives in the App Store. Make a list of essential apps you use regularly, and search for them on your new iPhone. If you can't find a direct alternative, look for similar apps that offer the same functionality.
Once the transfer is complete, double-check that all your important data is in place. Setting up your new iPhone doesn't have to be complicated, and with a little preparation, you'll be ready to enjoy your new device in no time!
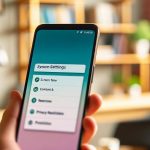
Customize Your Settings
Start customizing your iPhone settings to make it truly yours. Tailoring these settings not only enhances your experience but also boosts your device's performance. Here's how to get started:
- Privacy Settings: Review and adjust your privacy settings to control what data apps can access.
- Security Settings: Enable features like Face ID or Touch ID for extra security.
- Location Services: Decide which apps can access your location to protect your privacy.
- Battery Optimization: Activate Low Power Mode and manage background app refresh for better battery life.
- Accessibility Features: Explore options like Voice Control to enhance usability.
Additionally, consider adjusting your sound preferences and display options to suit your taste. Don't forget about app permissions; verify that each app has the access it truly needs. For peak performance, regularly check your storage management to keep your device running smoothly. By customizing these settings, you'll create a personalized environment that aligns with your needs, making your switch from Android to iPhone a seamless change.
Personalizing Your Iphone Experience

Now that you've set up your iPhone, it's time to make it your own. You can customize your home screen layout, adjust notification preferences, and select app theme options to fit your style. These simple tweaks can enhance your experience and make your iPhone truly yours.
Customize Home Screen Layout
Customizing your iPhone's home screen layout can transform your device into a more personal and efficient space. By taking advantage of various features, you can create an interface that suits your preferences and needs. Start by rearranging your app icons to reflect your most-used applications. You can also utilize folder organization to keep related apps together, making it easier to find what you need.
Consider these elements to enhance your home screen experience:
- Widget arrangement: Add widgets for quick access to essential information.
- Wallpaper selection: Choose a background that resonates with your style.
- Theme customization: Use colors and icons that reflect your personality.
- Grid layout: Adjust the grid layout to customize spacing and alignment.
- Accessibility features: Implement features that make navigation easier.
Don't forget about gesture controls, which can streamline how you interact with your apps. By personalizing your home screen, you're not just changing the look; you're enhancing functionality and accessibility, making your iPhone truly yours. Explore these options to create a layout that's both visually appealing and efficient for your daily use.
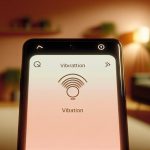
Set Up Notifications Preferences
Setting up your notification preferences is a significant step in personalizing your iPhone experience. You'll want to make certain that your app notifications are tailored to your needs. Start by accessing Settings > Notifications, where you can customize alert preferences for each app.
Consider adjusting notification sounds and vibration options to distinguish between different alerts. You can also set priority settings for important apps, so they stand out in your busy day. For example, you might want messages to have a distinct sound while social media notifications remain silent.
Additionally, using the "Do Not Disturb" feature allows you to silence all alerts during specific times. This can be handy for focusing or during meetings. Group notifications can help keep your notifications organized, while badge settings let you know when you have unread alerts without being overwhelmed.
Here's a quick overview of these settings:
| Feature | Description | Settings Location |
|---|---|---|
| Notification Sounds | Customize sounds for each app | Settings > Sounds |
| Alert Preferences | Choose how notifications appear | Settings > Notifications |
| Do Not Disturb | Silence notifications during certain times | Settings > Do Not Disturb |
Take the time to personalize your notifications for a smoother iPhone experience!
Choose App Themes Options
When it comes to personalizing your iPhone experience, exploring app themes can really help you stand out. Unlike Android, iPhone offers a more streamlined approach to app customization, but you can still express your unique style through theme preferences. Here are some ways to enhance your iPhone with themed options:
- Dark Mode: Switch to dark mode for a sleek, modern look that's easier on the eyes.
- Widgets: Use widgets to display information in a visually appealing way that matches your chosen theme.
- Wallpaper: Choose wallpapers that complement your app themes and create a cohesive aesthetic.
- Icon Packs: Customize app icons with third-party icon packs available on the App Store.
- Color Schemes: Select color schemes for your apps that resonate with your personal style.
Frequently Asked Questions
Can I Keep My Android Phone After Switching to Iphone?
Yes, you can keep your Android phone after switching to an iPhone. Just guarantee your data security is maintained, and be aware of phone compatibility for apps and services you might still want to use.
Will My Android Apps Work on My New Iphone?
You might wonder if your Android apps will work on your new iPhone. Unfortunately, app compatibility concerns arise, but don't worry—there are plenty of alternative app options available to meet your needs seamlessly!
How Do I Transfer My Music Library to Iphone?
To transfer your music library, you've got several music transfer methods. You can use iTunes, cloud services, or alternative music services like Spotify. Choose what suits you best for a seamless shift to your new device.
What Should I Do if My Transfer Fails?
Picture a ship caught in a storm; sometimes, transfers face turbulence too. If yours fails, try transfer troubleshooting steps like restarting your devices or using data recovery apps to salvage what you can. Stay patient!
How Can I Manage My Iphone Storage After the Switch?
To manage your iPhone storage, utilize storage optimization features in settings. Regularly review and delete unused apps, and consider using cloud services for photo management, ensuring you keep your device clutter-free and efficient.
Conclusion
As you begin your journey from Android to iPhone, think of it as crossing a bridge to a new world. Each step—backing up your data, using the Move to iOS app—serves as a stepping stone, guiding you to a fresh landscape filled with new possibilities. Embrace the change, personalize your experience, and let your new device reflect your unique style. Just as a caterpillar transforms into a butterfly, you too can thrive in your new digital environment.


Leave a Reply