Have you noticed your iPhone photos looking grainy and wondered why that happens? It's a common issue that can be frustrating, especially when you're trying to capture those perfect moments. Various factors, such as low light conditions, high ISO settings, and even the way you hold your phone, can contribute to this problem. Understanding these elements is essential for improving your photo quality. Let's explore the primary causes of graininess and discover some effective tips and tools to enhance your images. Curious about how to make your photos sharper and cleaner?
Common Causes of Graininess
Graininess in iPhone photos can stem from several common factors, with high ISO settings being a primary culprit. When you increase the ISO, your iPhone's camera sensor becomes more sensitive to light. This sensitivity boost is essential in low light conditions but introduces noise, resulting in grainy photos. The camera compensates for the lack of light by amplifying the signal, which unfortunately amplifies the noise as well.
Another significant factor is motion blur. If your iPhone isn't stabilized while taking a photo, even the slightest movement can cause a blur. This blur isn't just a loss of sharpness; it also contributes to the perception of graininess. The details become less distinct, making the noise more noticeable. Ensuring your phone is steady, either by using a tripod or resting it on a stable surface, can mitigate this issue.
Autofocus failures also play a role in producing grainy photos. In low-contrast environments, the camera sometimes struggles to lock onto the subject accurately, resulting in out-of-focus images. When you view these photos closely, the out-of-focus areas can appear grainy or noisy. Ensuring adequate contrast or manually focusing can help reduce this problem.
Even with low ISO settings, grain can appear if your photos are under-exposed. Raising the exposure during post-processing can make existing noise more apparent. Under-exposure means there wasn't enough light captured initially, and compensating for this in editing amplifies the noise already present in the image. To avoid this, try to get the exposure right while taking the photo, rather than relying on post-processing adjustments.
Impact of Low Light Conditions
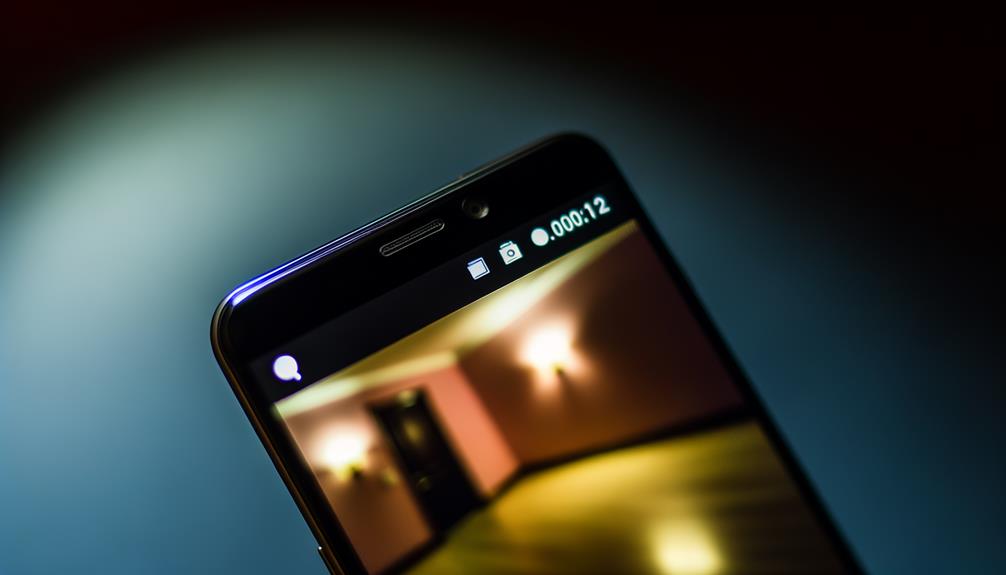
While various factors contribute to grainy iPhone photos, low light conditions are among the most significant. When you're taking pictures in dimly lit environments, your iPhone's camera adjusts its settings to capture enough light. This typically involves increasing the ISO setting, which can lead to increased graininess in your photos.
Here's why low light conditions result in grainy images:
- Increased ISO Setting: To compensate for the lack of light, your iPhone raises the ISO setting. While this makes the camera sensor more sensitive to light, it also amplifies noise, leading to a grainy texture in your photos.
- Extended Exposure Times: In low light, the camera often uses slower shutter speeds to allow more light to hit the sensor. This extended exposure increases the likelihood of capturing noise, particularly in darker areas of the image.
- Autofocus Challenges: Low light can hinder your camera's autofocus performance, making it difficult to lock onto a subject. An out-of-focus image appears grainier when viewed closely, adding to the overall perception of poor quality.
To mitigate these issues, your iPhone includes features like Night Mode, which optimizes exposure times and applies noise reduction techniques to enhance clarity. Night Mode intelligently adjusts the ISO setting and exposure to balance light and minimize graininess, resulting in clearer, more detailed photos even in challenging lighting conditions.
Understanding the impact of low light on your iPhone photos helps you make better decisions when capturing images. Be mindful of your environment and take advantage of your iPhone's built-in features to reduce graininess and improve photo quality.
Role of ISO Settings
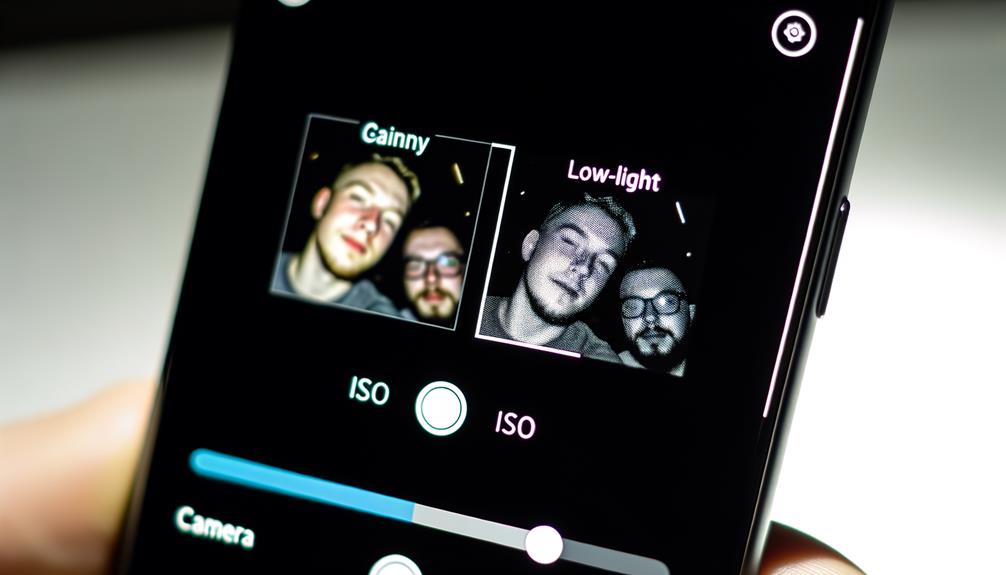
When your iPhone automatically raises the ISO in low-light conditions, it increases the sensor's sensitivity to light, but this also introduces noise, leading to grainy photos. To reduce this graininess, you should aim to use the lowest ISO setting possible while still achieving proper exposure. Balancing ISO with aperture and shutter speed is essential for capturing clear images without compromising on quality.
ISO and Image Noise
Despite the advanced technology in iPhone cameras, understanding the role of ISO settings is vital for avoiding grainy photos. ISO measures the sensitivity of your iPhone's camera sensor to light. Higher ISO settings can improve performance in low light but also increase image noise, leading to grainy photos, especially in darker areas.
When you push the ISO beyond 800, the noise becomes more pronounced. This is because the sensor amplifies the light it captures, which also amplifies the imperfections or "noise" within the image. Hence, while higher ISO values can be useful, they come with a trade-off in image quality.
Consider these tips to manage ISO and image noise effectively:
- Keep ISO Low in Good Light: For well-lit situations, use lower ISO settings (100 or 200) to achieve cleaner, sharper images.
- Balance ISO with Other Settings: Higher ISO can compensate for a wider aperture or slower shutter speed, but it must be balanced to avoid excessive grain.
- Understand the Light Conditions: Adjust ISO according to the lighting. In challenging lighting, maintaining the lowest feasible ISO is vital for best results.
Reducing ISO Settings
Reducing ISO settings is vital for minimizing graininess in your iPhone photos. ISO settings determine the camera sensor's sensitivity to light. Higher ISO values can lead to increased noise and grain, especially in low-light conditions, negatively impacting image quality.
Lowering the ISO setting helps minimize graininess by reducing the noise introduced during exposure. In well-lit environments, using a lower ISO (such as 100 or 200) allows for clearer images with less grain while still achieving proper exposure. When shooting in low light, it's more effective to adjust the aperture or shutter speed rather than increasing the ISO, which can exacerbate grain issues.
Balancing ISO with other settings, such as aperture and shutter speed, is vital for ideal exposure and maintaining image clarity without excessive grain.
| Environment | Recommended ISO | Result |
|---|---|---|
| Bright daylight | 100-200 | Clear, low-grain |
| Indoor lighting | 200-400 | Moderate clarity |
| Low light/night | 400+ | Increased grain/noise |
| Studio lighting | 100-200 | High image quality |
Post-Processing Effects
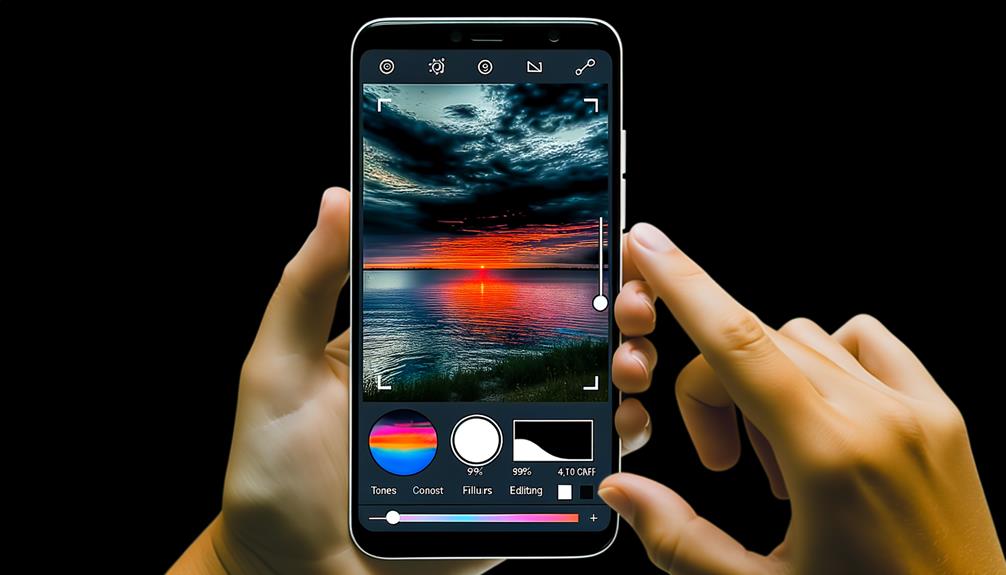
Post-processing effects play a significant role in the final appearance of your iPhone photos, and they can often exacerbate graininess. When you apply excessive noise reduction or sharpening, it can actually make the amount of grain in your images more noticeable. These adjustments might aim to improve your photo, but they often lead to a loss of detail and texture, making the grain stand out even more.
High ISO settings introduce noise during capture, and if this noise is further enhanced during post-processing, the grain can become even more pronounced. Over-editing with filters or adjustments can give your photos an unnatural look, which draws attention to the grain and degrades the overall photo quality. Here are some key points to reflect upon:
- Excessive Noise Reduction: This can smooth out details and textures, making the grain more apparent.
- High ISO Enhancement: Noise introduced by high ISO settings becomes more visible when further enhanced during editing.
- Over-Editing: Filters and adjustments can create an unnatural appearance that highlights grain.
In low-light conditions, brightening effects without proper grain correction can amplify the speckled appearance of noise. To tackle this, using advanced editing software with targeted controls allows you to make more precise adjustments. This can help minimize the visibility of grain while preserving the overall image quality.
Using Night Mode
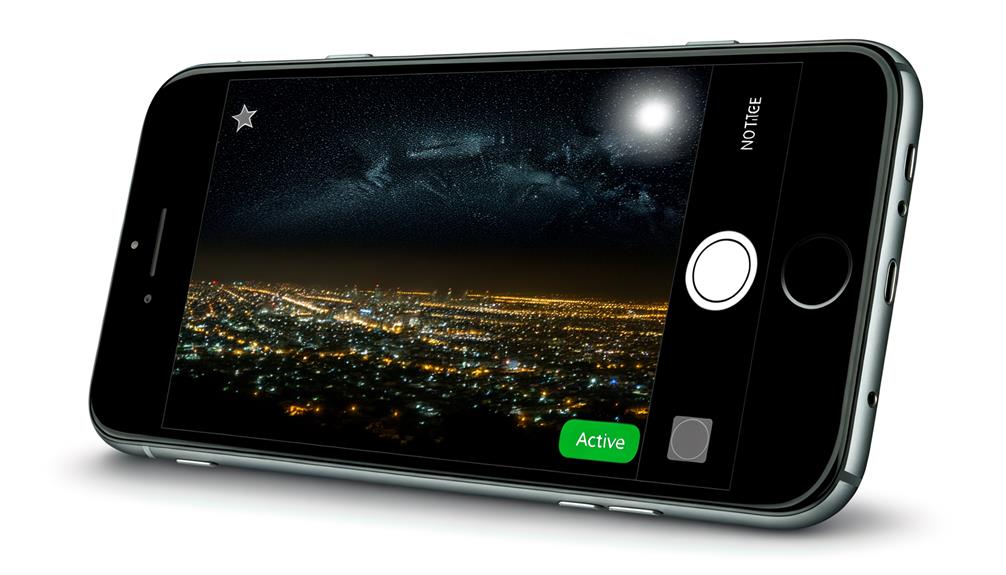
When you switch on Night Mode, your iPhone leverages advanced technology to capture notably more light and detail in low-light conditions. This mode automatically activates when the ambient light is insufficient, allowing for longer exposure times. By doing so, Night Mode can pull in more light, resulting in clearer and more vibrant images than what you'd get with standard shooting modes.
Night Mode uses sophisticated algorithms to reduce noise, which is often the culprit behind grainy photos. These algorithms analyze multiple frames taken in rapid succession, merging them into a single image. This merging process averages out the noise from different exposures, effectively reducing graininess and enhancing the overall quality of your photos.
You can also manually adjust the exposure time in Night Mode. Longer exposure times can further enhance the image's brightness and detail but come with a caveat: the risk of motion blur. To mitigate this, it's advisable to use a tripod or stabilize your iPhone on a flat surface. This guarantees that the camera remains steady during the extended exposure, resulting in sharper images with less grain.
Additionally, taking multiple shots in Night Mode can be beneficial. The camera's ability to merge these images greatly improves the final output, making your photos look cleaner and more professional. This feature is particularly useful in extremely low light, where noise tends to be more prominent.
Tips for Reducing Noise
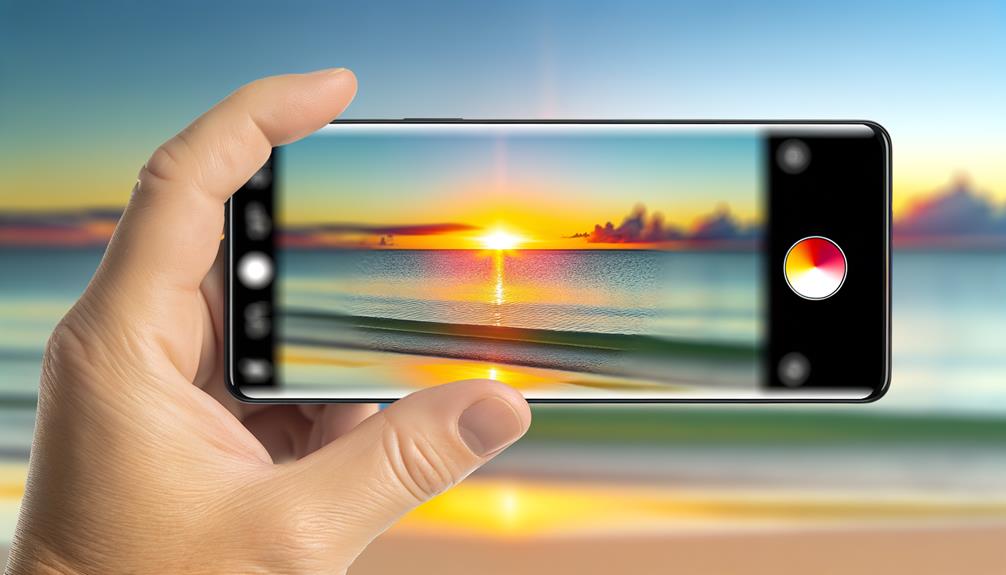
Achieving noise-free photos on your iPhone requires a blend of effective shooting techniques and post-processing strategies. Noise, especially in low light conditions, can be a significant challenge, but there are several methods to help you minimize it.
First, always aim to use the lowest ISO setting feasible for the environment you're shooting in. Higher ISO levels increase the camera's sensitivity to light, which consequently introduces more graininess into your photos. Keeping the ISO low helps maintain image clarity and reduces noise.
Second, proper exposure is essential. Under-exposed images can accentuate noise when you attempt to brighten them later. Verify your photos are correctly exposed by using exposure compensation or shooting in brighter conditions. Your iPhone's Night Mode can be particularly useful in low light as it leverages longer exposure times to capture clearer images with less noise.
Here are three practical tips to help you further reduce noise in your iPhone photos:
- Use Night Mode: In low light, this feature optimizes exposure times to minimize noise.
- Clean Your Lens: Regularly clean your lens with a microfiber cloth to remove smudges or dirt that can degrade image quality.
- Proper Exposure: Avoid under-exposure by using exposure compensation or shooting in well-lit areas.
Editing Tools for Improvement
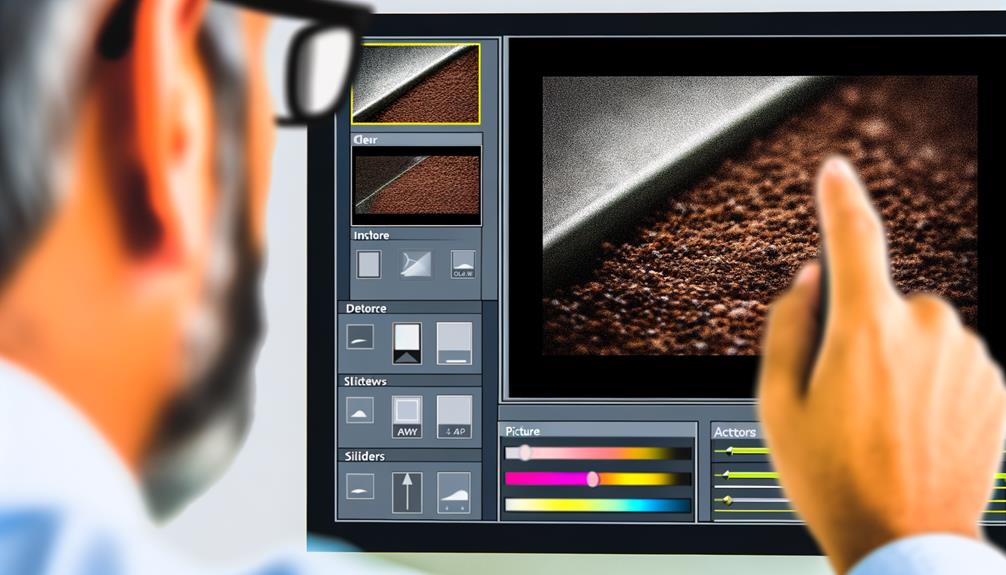
To enhance the quality of grainy iPhone photos, you can start by using the native Photos app's sharpness adjustments to boost clarity. For more advanced noise reduction, third-party apps like Adobe Lightroom and Snapseed offer detailed controls to fine-tune luminance and detail. Additionally, leveraging AI-driven enhancements and composition tools can greatly improve the visual appeal of your images.
Native Photos App Features
Enhancing your iPhone photos to reduce graininess can be effectively managed using the native Photos app's editing tools. The app provides a variety of features that can help improve image quality without needing third-party software.
- Sharpness Tool: This feature enhances clarity by adjusting pixel contrast, making your iPhone photos appear crisper. If your camera settings led to a grainy image, this tool can make a noticeable difference.
- Exposure Adjustment: Low light is a common cause of graininess. By increasing the exposure settings, you can brighten the image and bring out more detail, mitigating the graininess.
- Crop and Straighten: Refining the composition through cropping and straightening can enhance the subject's focus and overall clarity. This can make graininess less noticeable and improve the photo's aesthetic.
Additionally, color correction tools in the Photos app can enhance color accuracy, which can distract from the grainy texture and improve the overall look of your image. The user-friendly interface makes these adjustments accessible, even if you're not a seasoned photographer. By leveraging these native features, you can greatly enhance your iPhone photos and reduce unwanted graininess.
Third-Party Editing Apps
When it comes to combating graininess in your iPhone photos, third-party editing apps offer robust tools that can greatly improve image quality. Apps like Adobe Lightroom, Snapseed, and Fotor provide advanced noise reduction tools, effectively reducing graininess while preserving overall image quality.
Adobe Lightroom allows you to adjust the luminance slider in the Develop Module's Details tab. This feature specifically targets and reduces grain visibility without compromising detail, making it an excellent choice for fine-tuning your photos. Snapseed, known for its intuitive interface, includes selective editing options. You can apply sharpening and noise reduction to specific areas of an image, enhancing clarity exactly where it's needed.
Fotor offers AI-driven features that automatically enhance portrait shots, making it incredibly user-friendly for beginners. This app simplifies the process of improving the clarity of grainy images, even if you're new to photo editing. Additionally, many of these third-party editing apps support RAW image editing. This provides greater flexibility in post-processing, allowing you to achieve better results with photos captured in challenging lighting conditions.
Noise Reduction Techniques
A variety of noise reduction techniques are available to improve the quality of grainy iPhone photos, making it easier than ever to achieve professional-looking results. Here are some effective methods you can use:
- Lightroom's Luminance Slider: Lightroom is a powerful tool for image processing. Its luminance slider specifically targets noise reduction, letting you fine-tune the balance between reducing graininess and preserving detail. In the Develop Module, you can also adjust the detail and contrast sliders to maintain a natural look.
- Snapseed's Selective Tool: Snapseed offers a selective tool for targeted noise reduction. This feature is especially useful for enhancing specific areas without affecting the entire image. By focusing on particular sections, you can improve clarity and maintain the integrity of your photo.
- Fotor's AI Features: If you're a beginner, Fotor provides an easy-to-use solution. Its AI capabilities automatically detect and reduce noise, simplifying the image processing workflow. This makes it a user-friendly option for enhancing your photos quickly.
When reducing noise, avoid overdoing it. Excessive noise reduction can compromise image sharpness and visual appeal. Use these tools wisely to strike the right balance between clarity and naturalness.
Frequently Asked Questions
Why Are All My Iphone Photos Grainy?
Your iPhone photos look grainy due to high ISO settings, low light conditions, or motion blur. Guarantee proper photo quality by cleaning your lens, balancing exposure, and maintaining steady hands to improve image resolution.
How Do I Get Full Quality Photos on My Iphone?
To get full quality photos on your iPhone, tweak your photo settings by selecting "High Efficiency" or ProRAW format. Use proper camera techniques like avoiding high ISO in low light and updating your software for ideal performance.
How Do I Fix My Grainy Iphone?
To fix your grainy iPhone photos, improve lighting conditions and tweak camera settings. Lower the ISO to reduce noise, guarantee proper exposure, and consider using noise reduction tools in editing apps. Cleaning the lens also helps.
How Do You Get Rid of Grainy Effects on Photos?
To get rid of grainy effects on photos, adjust your camera settings by lowering the ISO. Use photo editing software to apply noise reduction, such as the luminance slider in Lightroom, for a cleaner, sharper image.
Conclusion
To summarize, your iPhone photos look grainy mainly due to high ISO settings, low light conditions, and motion blur. By understanding these factors and utilizing features like Night Mode, you can greatly reduce noise. Keep your ISO low, steady your hands, and guarantee proper exposure to achieve clearer photos. Post-editing tools can also help enhance image quality. By applying these tips, you'll see a marked improvement in your iPhone photography.



Leave a Reply