So, you're looking to connect your Android phone to a projector via USB. First off, it's essential to determine if your device supports video output through USB-C or MHL. Without this compatibility, none of the steps will work. Once you've verified that, you'll need the correct adapter, like USB-C to HDMI or MHL to HDMI. After gathering the necessary equipment, there are a few more steps to follow, including setting the projector's input source and enabling screen mirroring on your phone. But what if the audio isn't working, or the screen doesn't display correctly?
Compatibility Check
Before you attempt to connect your Android phone to a projector via USB, a thorough compatibility check is vital. First, determine if your Android phone supports video output through USB-C or MHL technology. This step is important because not all Android phones have this capability. For phones with USB-C ports, confirm that they support video output. This information can typically be found in the device specifications provided by the manufacturer.
Next, examine the projector's USB port to verify it can accept video input. Many projectors have USB ports, but not all of them support video input. Again, consult the projector's specifications to confirm this capability.
If your Android phone has a Micro-USB port, you'll need to verify that the device is MHL compatible. MHL (Mobile High-Definition Link) technology allows Micro-USB ports to transmit video signals to HDMI inputs. To establish this connection, you'll require an MHL to HDMI adapter. Without MHL compatibility, your Micro-USB port won't work for video output.
For those with a USB-C Android phone, you'll need a USB-C to HDMI adapter to connect to HDMI projectors. Confirm your phone supports video output via USB-C by checking the device specifications. This verification prevents any potential connection issues.
Lastly, always refer to the specifications of both your Android phone and projector to validate compatibility. This step guarantees that all components are capable of establishing a successful connection, preventing any potential technical difficulties during setup. By conducting a thorough compatibility check, you can streamline the process of connecting your devices seamlessly.
Required Cables and Adapters
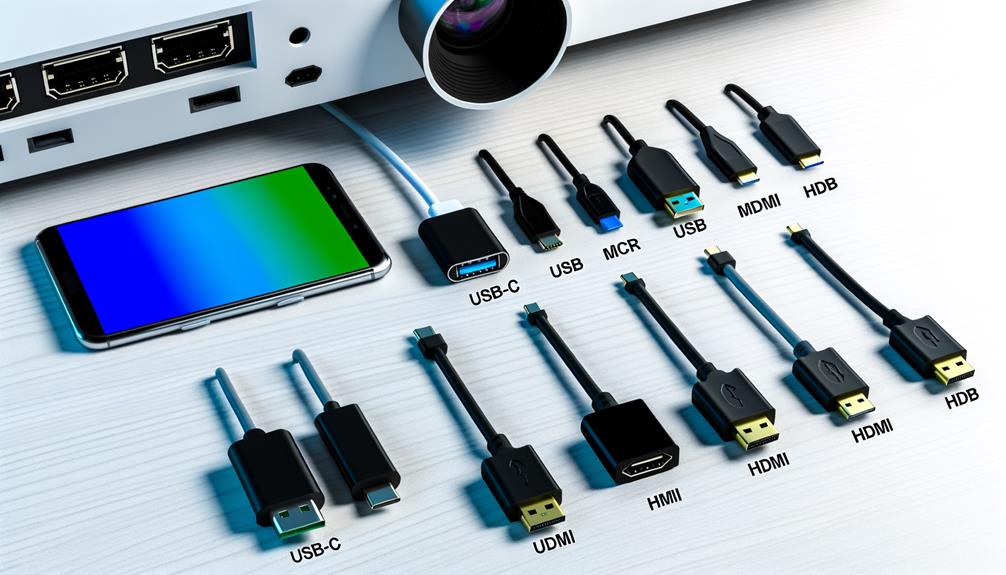
When connecting your Android phone to a projector via USB, understanding the required cables and adapters is important for a seamless experience. First, check if your Android phone supports video output through MHL (for Micro-USB) or USB-C standards, as this is essential for successful connections.
If your Android phone uses a Micro-USB connection and supports MHL, you'll need an MHL to HDMI adapter. This adapter will allow you to connect to the projector's HDMI input, guaranteeing the transmission of both video and audio signals. Remember, the adapter is the bridge that converts the Micro-USB signal into an HDMI-compatible one, making the connection possible.
For newer Android phones equipped with a USB-C port, the process is slightly different but equally straightforward. You'll require a USB-C to HDMI adapter to link your phone directly to an HDMI-equipped projector. This type of adapter supports high-quality video output, making sure you get the best possible resolution and image clarity on the projector screen.
In some cases, you might encounter a projector with a USB Type-A port. If your phone uses a Lightning connection, which is more common with iOS devices but sometimes applicable, a Lightning to USB Camera Adapter will be necessary to facilitate the connection. This adapter will enable the transfer of video output from your phone to the projector.
Always opt for high-quality cables and adapters to guarantee peak data and power transmission. Using subpar accessories can result in poor image resolution and connectivity issues, reducing the effectiveness of your setup. High-quality connections are indispensable to maintaining the integrity of your projected image and guaranteeing a smooth presentation experience.
Connection Steps
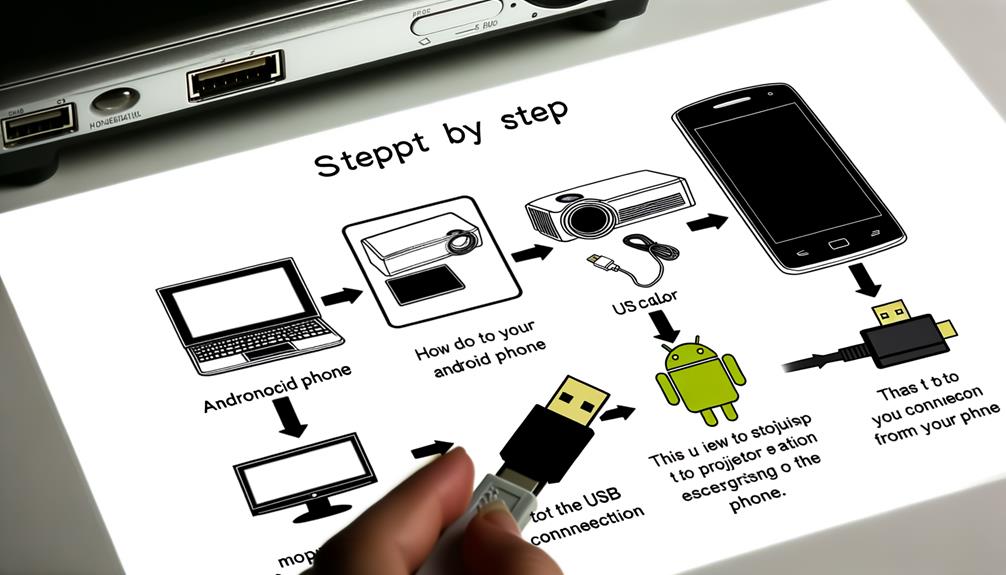
To connect your Android phone to a projector via USB, start by ensuring your phone supports video output through USB-C or MHL. You can verify this by checking your phone's specifications. Once confirmed, gather the necessary cables: a USB-C to USB-C cable if both devices support USB-C, or an MHL to HDMI adapter if your phone uses MHL and the projector has an HDMI port.
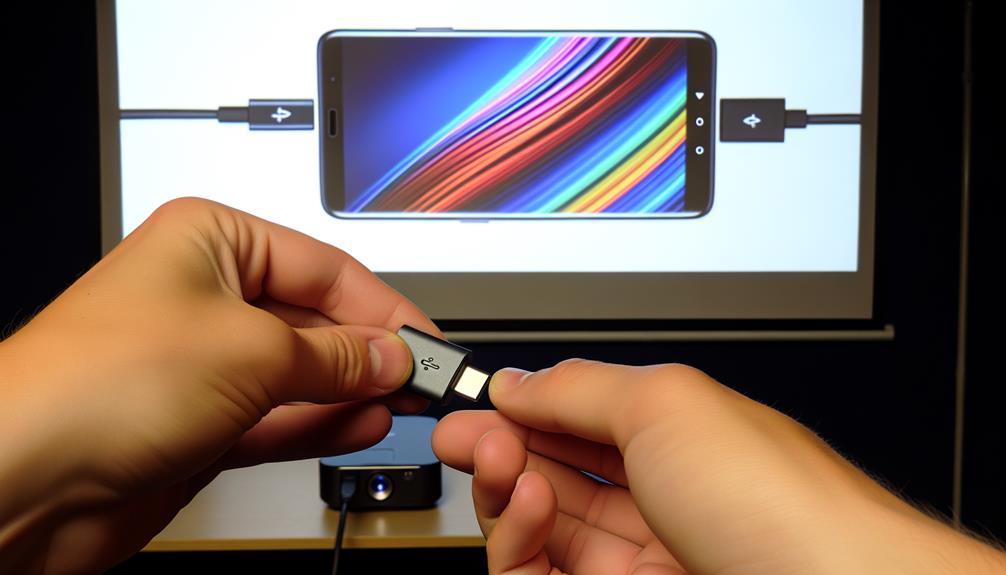
Begin the connection steps by securely connecting the appropriate cable or adapter from your Android phone to the projector's USB or HDMI port. Make sure the connections are firm to avoid any disruptions during use. Next, power on your projector.
Navigate through the projector's settings menu to select the correct input source. If you've connected your phone via USB, select 'USB' as the input source. If you've used an HDMI connection through an MHL adapter, choose 'HDMI.' This step is essential to establish a proper connection and enable data transfer between your phone and the projector.
On your Android phone, go to the settings menu and enable screen mirroring or casting. This feature might be listed under 'Connections,' 'Display,' or a similar category depending on your phone model. Once enabled, your phone should start projecting its display content onto the projector screen.
Audio Output Management
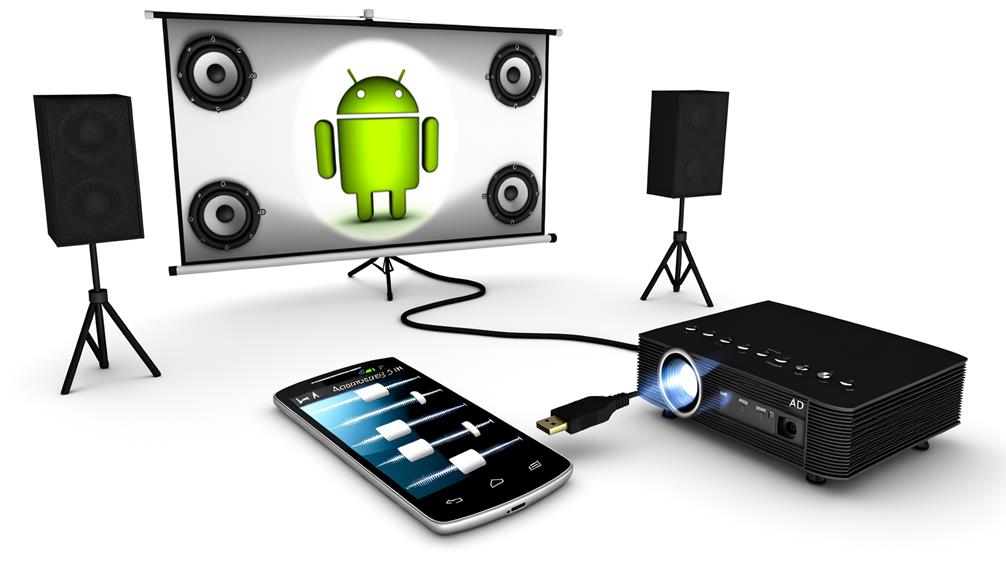
Managing audio output when connecting your Android phone to a projector via USB is essential for guaranteeing a seamless multimedia experience. When you connect your phone to a projector, it's important to first check if the projector can transmit audio through its USB port, as some only support video input via USB.
Many projectors come with built-in speakers that can play audio directly from your connected phone. However, for enhanced sound quality, consider connecting external speakers using auxiliary audio cables. If the projector supports audio over USB, make sure to configure the audio settings on both your phone and the projector to allow sound output during media playback or presentations.
Here's a quick comparison to help you manage audio output effectively:
| Scenario | Solution |
|---|---|
| Projector supports USB audio | Configure audio settings on both phone and projector |
| Projector lacks USB audio | Use auxiliary audio cable to transmit sound |
| Built-in projector speakers | Verify volume settings are adjusted for ideal output |
| External speakers desired | Connect external speakers via auxiliary audio cables |
| Audio issues during playback | Adjust volume settings on both phone and projector |
To adjust the volume settings, navigate to the sound settings on your Android phone and verify the media volume is turned up. Similarly, access the audio settings on the projector and adjust the volume to your preference. If using external speakers, make sure the connection is secure and the speakers are powered on.
Troubleshooting Tips
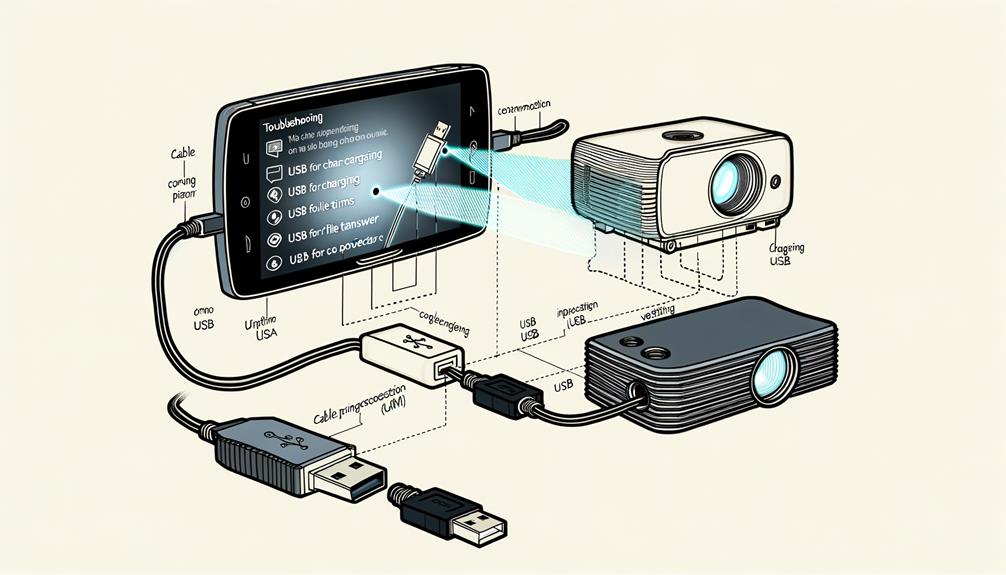
After confirming ideal audio output, you might still encounter issues connecting your Android phone to the projector via USB. First, confirm that both the projector and phone support video output through USB, such as MHL or Slimport. Additionally, verify that the projector setup includes selecting the correct input source to recognize the USB connection.
Check the compatibility of the USB cable or adapter you're using. A damaged or low-quality cable could cause connection issues or poor video quality. If the projector fails to display content from your phone, verify that screen mirroring is enabled in your phone's settings, and make sure the projector is set to the appropriate input mode for USB.
Experiencing lag or stuttering during projection? Try reducing the distance between the projector and phone. Also, check that both devices are updated to their latest software versions, as this can improve compatibility and performance.
Persistent connection issues might require a restart of both the Android phone and the projector. This can often resolve minor glitches that interfere with the USB connection. If problems continue, test with a different USB cable or adapter to rule out hardware malfunctions.
Lastly, while enabling Bluetooth isn't directly related to the USB connection, confirming that other wireless functions are turned off can help reduce interference. By systematically addressing these troubleshooting tips, you'll enhance the chances of a smooth connection between your projector and phone, providing an ideal viewing experience.
Wireless Connection Alternatives
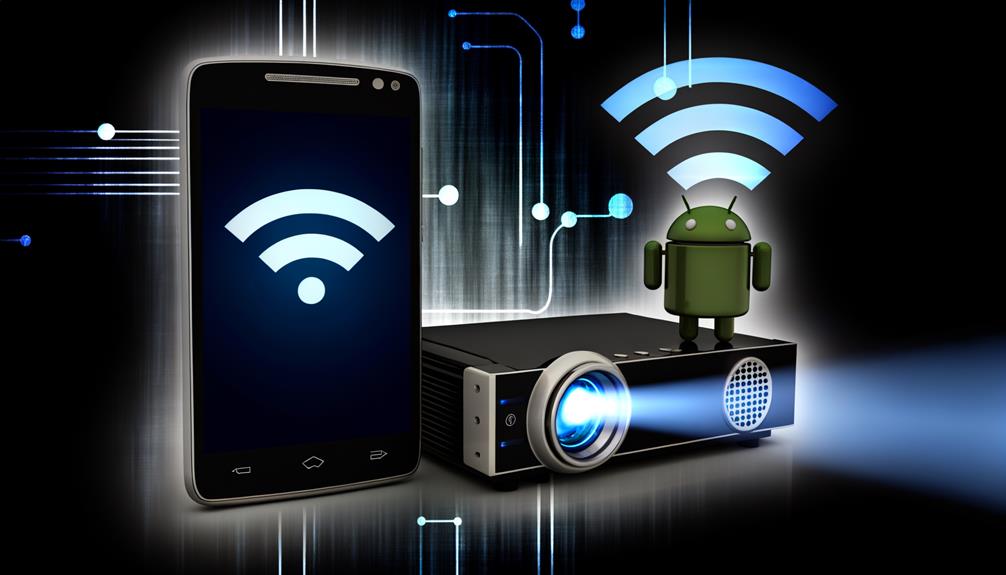
If you prefer a wireless connection, consider using Wi-Fi Direct, which allows a direct link between your Android phone and projector without needing a network. Alternatively, Chromecast enables you to cast your screen over Wi-Fi with ease, while AirPlay offers a seamless option for iPhones. These methods provide flexible and cable-free solutions for projecting your content.
Wi-Fi Direct Setup
Wi-Fi Direct often offers a convenient and efficient way to establish a wireless connection between your Android phone and a projector without needing a router. Unlike a USB setup, Wi-Fi Direct allows your devices to connect directly. Start by accessing the Wi-Fi settings on your Android phone and enabling Wi-Fi Direct. Your phone will then scan for nearby compatible devices.
Once your projector appears in the list of available devices, select it to establish the connection. You might need to confirm this connection on the projector's screen. After you've successfully connected, navigate to the display settings on your Android phone and enable screen mirroring. This will allow you to seamlessly project your phone's content onto the screen.
Ensure both your Android phone and the projector are within close range to maintain a stable connection and minimize any interference. Wi-Fi Direct is a great alternative to using a USB connection, providing flexibility and ease of use for displaying your content. By following these steps, you can effectively connect your Android phone to your projector and enjoy a smooth screen mirroring experience.
Chromecast Screen Casting
Chromecast's versatility makes it an excellent option for wirelessly projecting your Android phone's screen to a compatible projector. To get started, plug the Chromecast device into your projector's HDMI port and verify both the Chromecast and your Android phone are connected to the same Wi-Fi network.
Begin by downloading the Google Home app on your Android device. This app is essential for setting up and managing your Chromecast. Once installed, follow these steps:
- Open the Google Home app and select your Chromecast device.
- Tap on the "Cast Screen/Audio" option to start screen mirroring.
- Your Android phone's screen will now be projected onto your projector.
Chromecast supports high-definition video streaming, so you can project content like videos, presentations, and photos in crisp 1080p resolution or higher, depending on your projector's capabilities. Additionally, many apps have built-in casting options, allowing you to stream content directly to the projector without needing full screen mirroring. This feature simplifies the process and enhances your viewing experience.
Airplay for Iphones
Leverage the power of AirPlay to wirelessly mirror your iPhone's screen to a compatible projector, transforming your device into a seamless tool for presentations and media streaming. AirPlay allows a wireless connection that eliminates the need to connect your device via USB. Both your iPhone and the projector must be on the same Wi-Fi network to guarantee effective communication. This setup enables high-definition video streaming up to 1080p, enhancing the quality of content from your phone.
To initiate screen mirroring, swipe down from the upper right corner of your iPhone to access the Control Center. Then, select "Screen Mirroring" and choose your projector from the list of available devices. Some projectors might require an additional app, like AirScreen, to enable AirPlay functionality. Always check the projector's specifications beforehand to guarantee compatibility.
While this method is specific to iPhones, it offers a wireless connection alternative to android phones that typically connect to projectors using a USB. Whether you're sharing a professional presentation or streaming media, AirPlay provides a smooth and efficient connection between your phone and the projector, making it an excellent choice for various needs.
Frequently Asked Questions
Can I Plug My Phone Into a Projector With Usb?
You can plug your phone into a projector using USB connectivity, but verify projector compatibility. Check Android settings for display options and video output. Use appropriate cable types, consider mirroring apps, and account for power requirements and device limitations.
Can I Connect My Android Phone to a Projector?
Yes, you can connect your Android phone to a projector. Verify projector compatibility and use USB adapters. Check Android settings for screen mirroring. For wireless projection, use mobile apps. Adjust projector resolution and video formats. Follow troubleshooting tips for audio output.
How Do I Get My USB to Work on My Projector?
To resolve USB compatibility issues, guarantee your projector port type matches your cable selection. Follow an Android settings guide for USB debugging. Check file format requirements, projector power levels, and consider USB adapter options. Troubleshoot connection problems or try wireless projection alternatives for better display quality.
How to Connect Phone to Projector Without Hdmi?
To connect your phone to a projector without HDMI, explore wireless projection or USB adapters. Confirm projector compatibility, use casting devices, and enable screen mirroring. Check projector settings, display resolution, and use mobile apps for troubleshooting tips on different cable types.
Conclusion
By following these steps, you can easily connect your Android phone to a projector via USB. Confirm compatibility, use the right adapters like USB-C to HDMI or MHL to HDMI, and securely connect everything. Don't forget to select the correct input source and enable screen mirroring on your phone. Adjust the audio settings for the best experience. If issues arise, consult troubleshooting tips, and consider wireless alternatives for more flexibility.
Leave a Reply